A Story You’ll Relate To
Earlier this week I was sitting at a small table in South End in Charlotte, talking with a homeowner who blurted out, “I felt sick the first time I saw that crack run through my brick.”
If you’ve ever stared at a zig-zag crack or a door that suddenly won’t close and thought, “Please don’t let this be a foundation problem,” you’re not alone.
This is one of those foundation repair success stories in Charlotte, NC that actually has a calm, happy ending. No drama, no horror movie final bill. Just a normal family, a growing crack, and a plan that worked.
Let’s Step Back For a Second
Here’s what was going on.
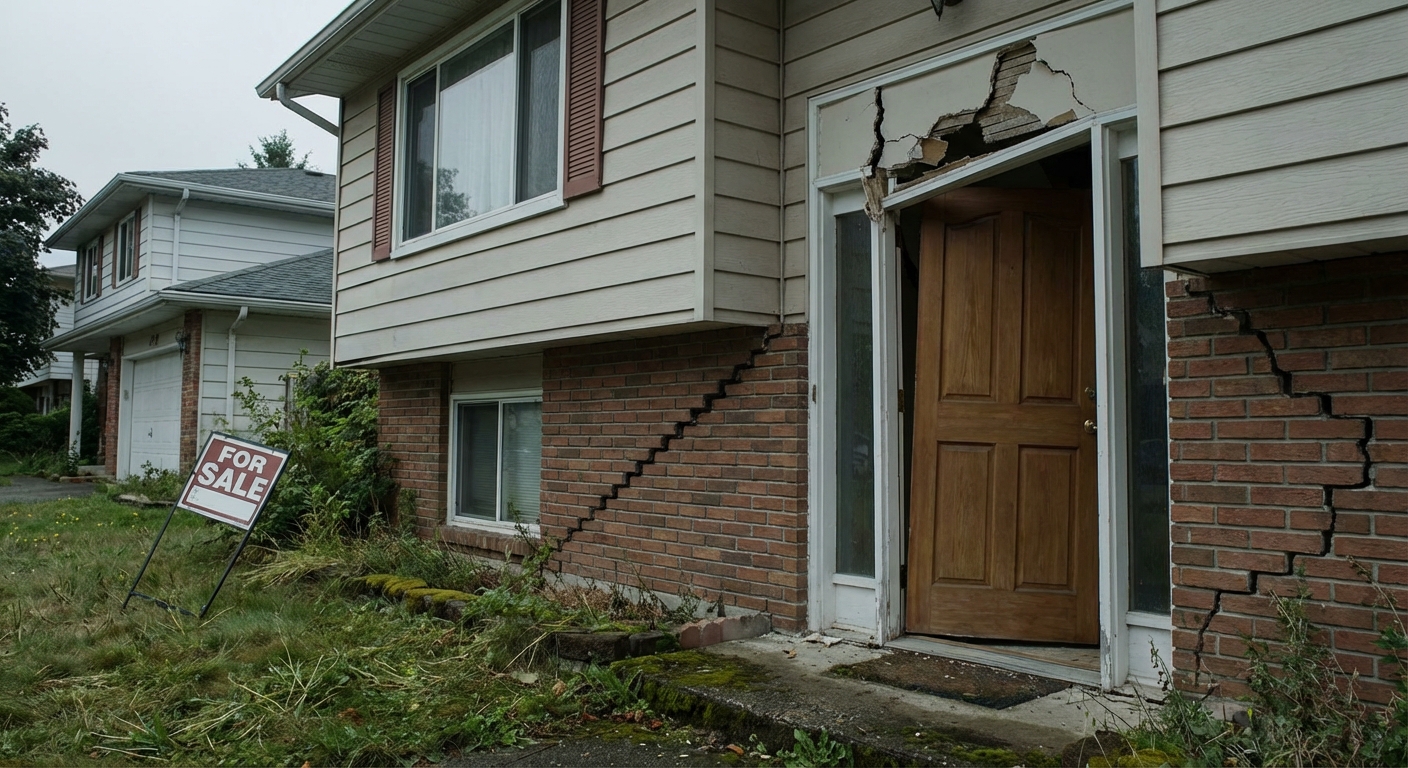
Matt and Alicia bought a 1990s brick home in south Charlotte, not far from Ballantyne. Nice yard, good schools, classic Carolina red clay underneath. After a few years, Alicia noticed a thin stair-step crack in the brick near the front porch. Nothing wild. They shrugged it off.
Two years later:
- The crack had grown to almost ½ inch wide in one spot.
- The dining room floor felt “tilted” toward one corner.
- The front door started scraping the frame and needed a shove to close.
- They saw a gap under the baseboards along one wall.
That’s when the panic started: Is our house sinking?
Why this matters for you: foundation problems usually start small and quiet. A crack here. A sticky door there. By the time things feel “obvious,” you’re already a few chapters into the story.
Let’s Break This Down
I don’t know everything, but I see the same pattern around Charlotte a lot. The clay soil here swells when it’s wet and shrinks when it’s dry. If your home’s foundation isn’t supported right, parts of it can settle more than others.
In this case study, here’s what was really going on under Matt and Alicia’s house:
- Uneven settlement: One corner of the house had dropped about 1.25 inches compared to the rest.
- Poor drainage: The front flower bed sloped toward the house, and the downspout dumped water right at the footing.
- Tree roots: A big maple about 15 feet from the foundation was pulling moisture from the soil on one side more than the other.
So the house wasn’t “falling apart.” It was reacting to years of water and soil changes. Slowly. Quietly. Then all at once.
Here’s the Backstory (The Numbers Part)
When the foundation crew came out, they did more than just eyeball the cracks. They:
- Took elevation readings across the whole house.
- Mapped the high and low points on a sketch of the floor plan.
- Measured cracks inside and outside (including a ⅜-inch gap in one interior corner).
- Checked all doors and windows in the front half of the home.
The low corner was down about 1.25 inches. A couple of other spots were down ¾ of an inch. That might not sound like much, but you sure feel it when you’re walking across the dining room.
Based on that, the recommended plan was:
- 8 foundation piers along the front-right corner and front wall.
- Gutter and grading fixes to move water away from the foundation.
- Minor interior crack repair after lifting and stabilizing.
Rough cost range in Charlotte for something like this? Think $9,000–$16,000, depending on pier type, access, and how far they have to lift. (This one landed near the middle of that range.)
So Here’s the Strange Part
The part most homeowners don’t realize: the goal isn’t always to jack your house back to “perfect level” like nothing ever happened.
The real goal is to stabilize so it doesn’t keep moving.
In this Charlotte case study, they were able to lift the low corner about ⅞ of an inch. That:
- Closed the main brick crack almost completely.
- Got the front door swinging like normal again.
- Reduced the “tilt” in the dining room so you didn’t feel it walking in.
Was the foundation mathematically “perfect”? No. Was it safe, stable, and normal for an older home? Yes.
A Closer Look at the Repair Day
Let me walk you through what the actual work looked like on site, because that’s the part that stressed this family out the most.
1. The Prep
- Landscaping along the front wall was carefully removed and set aside.
- Small sections of concrete near the porch were cut where needed.
- Access holes (about 2–3 feet wide) were dug down to the footing.
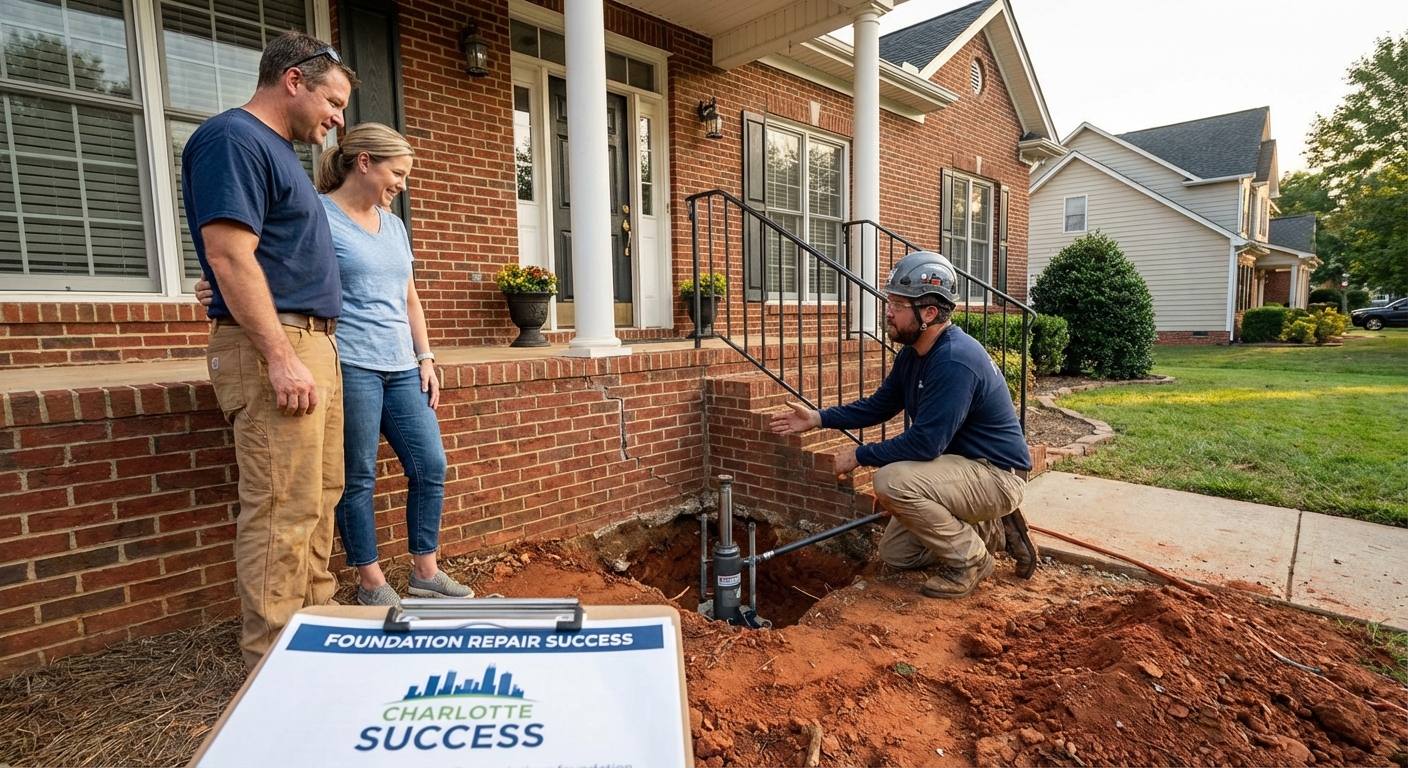
2. Installing the Piers
Depending on the system used, the crew either:
- Drove steel piers down to stable soil or bedrock, or
- Installed helical piers that “screw” into the ground until they hit the right bearing strength.
Each pier was attached to the footing with a steel bracket. Think of it like new “legs” under the house in the problem area.
3. The Lift
Here’s the part everyone gets nervous about.
- Hydraulic jacks were attached to the brackets at each pier.
- The crew lifted in very small increments, checking doors, cracks, and readings as they went.
- Once they reached the best safe lift, they locked everything in and removed the jacks.
Inside, Alicia watched the crack above her dining room doorway slowly close up as they lifted. Not totally gone, but way, way better. Kind of wild to see.
4. Clean-Up and Cosmetic Fixes
- The holes were backfilled and compacted.
- Concrete was patched and finished.
- Brick mortar was repaired where needed.
- Interior drywall cracks were patched and re-painted.
- Landscaping was put back, and they fixed grading so water flowed away from the house.
A Real-Life Moment
A few weeks after everything was done, Matt told me something that stuck with me.
“Honestly, the worst part wasn’t the work,” he said. “It was the six months before, where I kept pretending it wasn’t that bad. I barely slept some nights, just worrying about what the inspector might say if we ever tried to sell.”
Here’s the truth: foundation work isn’t cheap, but having it documented and under warranty is actually a positive thing when you go to sell in Charlotte (or anywhere, really). Buyers like “problem found, problem fixed,” especially when they can see before-and-after readings and a written warranty.
The Part No One Talks About
Something I keep seeing: people wait because they’re afraid of the number. And yeah, foundation repair can run from a few thousand to tens of thousands. But here’s the kicker…
- The damage almost never gets cheaper if you ignore it.
- Cracks spread, brick and framing move more, doors twist.
- Water can start sneaking in where the structure has shifted.
Catching it early might mean:
- Fewer piers.
- Less lifting required.
- Smaller repairs to brick and drywall.
And to be fair, sometimes the verdict is, “You’re okay. Watch it, but no major work needed yet.” That happens too.
Let’s Make This Simple
If you’re in or around Charlotte and wondering whether your situation is like this foundation repair success stories Charlotte NC case study, here are some quick things you can check yourself:
- Outside: Look for stair-step cracks in brick, gaps at windows, or bricks that seem to “pull away” from trim.
- Inside: Check for diagonal cracks from door or window corners, and doors that suddenly stick or swing open on their own.
- Floors: Feel for slopes, soft spots, or squeaky, bouncy areas that weren’t like that before.
- Gaps: Look at baseboards and crown molding for new gaps or separation.
- Water: After a heavy rain, walk around outside—do you see standing water right next to the foundation?
One small tangent here: while you’re walking around, check your gutters. Clogged gutters and missing downspout extensions cause way more trouble in Charlotte than people think.
Here’s the Big Takeaway
What I learned from this Charlotte case study is pretty simple:
- You don’t have to wait until things are falling apart to ask for help.
- Good data (measurements, photos, elevation readings) beats guessing and Googling.
- A solid plan can turn a scary “my house is sinking” fear into a normal home repair project.
And get this: about a year after the work, a follow-up check showed no additional settlement in the repaired area. Doors still worked. Cracks stayed tight. The house was doing exactly what you want a house to do—basically nothing.
What You Can Do Next
If your home story feels anything like this one, here’s a simple way to start:
- Take photos of any cracks, gaps, or weird doors. Note the date.
- Grab a level and check a few spots on your floors, especially near cracking walls.
- Walk your yard after the next rain and see where water collects.
- Get a professional opinion if anything feels “off” or keeps getting worse.
You don’t have to become a foundation expert. You just have to notice changes and ask questions.
Long story short: if this foundation repair success stories Charlotte NC case study tells you anything, it’s that catching things early, getting honest information, and actually following through on a repair can save you a lot of money, stress, and 2 a.m. worry.
If all of this feels like a lot, just start with one small step today—walk around your house, inside and out, and really look. That alone puts you ahead of most people.