Essential Guide to Basement Waterproofing: Protecting Your Home from Water Damage
When it comes to home maintenance, one of the most crucial yet often overlooked areas is the basement. If your basement resembles a swimming pool more than a storage area, you may have some serious waterproofing issues on your hands. Water damage can lead to structural problems, mold growth, and overall decreased property value. So, let’s dive into the essential guide to basement waterproofing, ensuring your home stays dry, safe, and more pleasant than a soggy shoe.
Understanding the Need for Basement Waterproofing
Waterproofing your basement is not just about keeping things dry. It’s about protecting your investment and ensuring that your home is a safe place for you and your family. A dry basement is essential for preventing mold growth, which can trigger allergies and other health issues. Additionally, a wet basement can lead to foundation cracks, termite infestations, and all sorts of unwelcome guests—like that raccoon you swore you’d evict last spring.
Before we get into the ‘how-tos’ of basement waterproofing, let’s first understand how water intrudes into your basement.
How Water Enters Your Basement
Understanding the pathways through which water enters your basement is half the battle won. Here are the most common culprits:
1. **Rainwater Runoff**: When heavy rain falls, water can accumulate around your home’s foundation. If your yard isn’t sloped away from your house, that water may find its way inside.
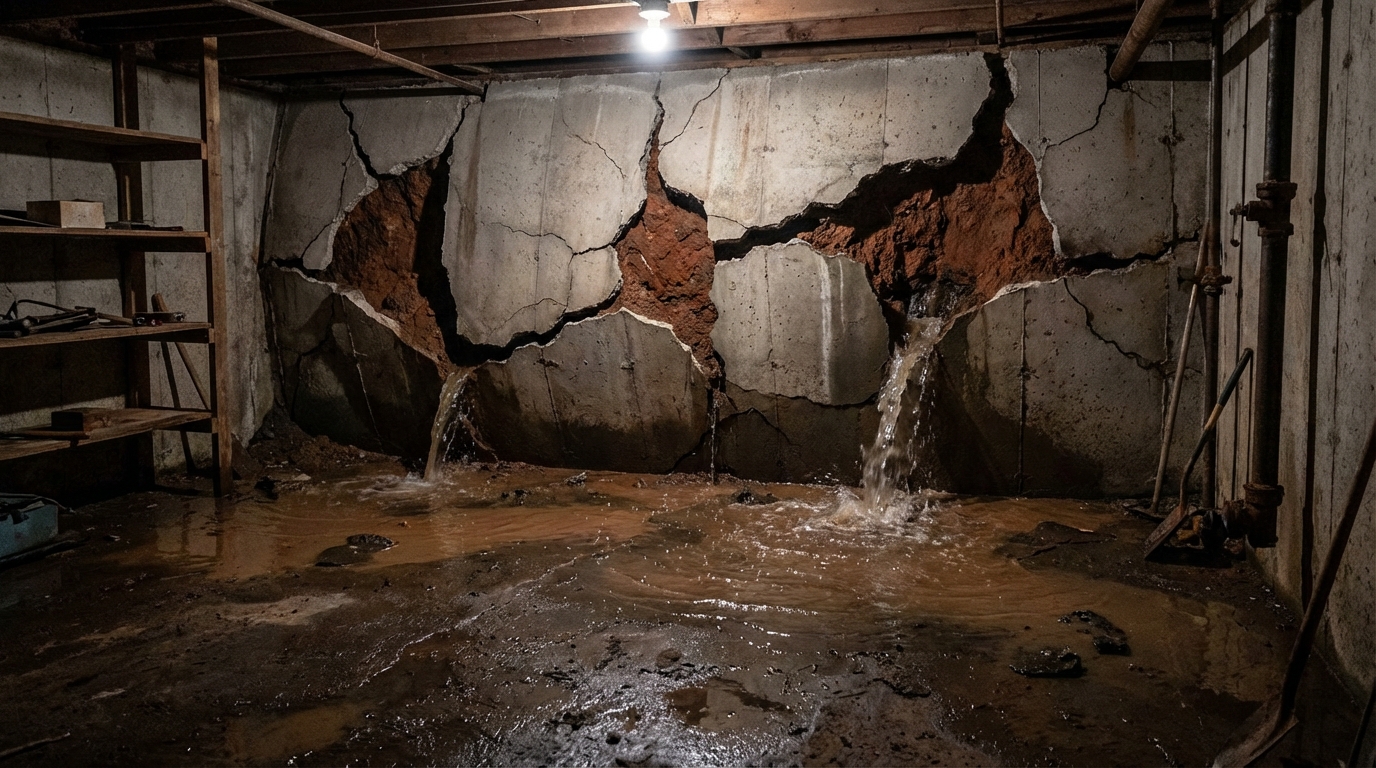
2. **High Water Tables**: In some areas, especially those prone to heavy rainfall or flooding, water levels below the ground may rise high enough to seep into your basement.
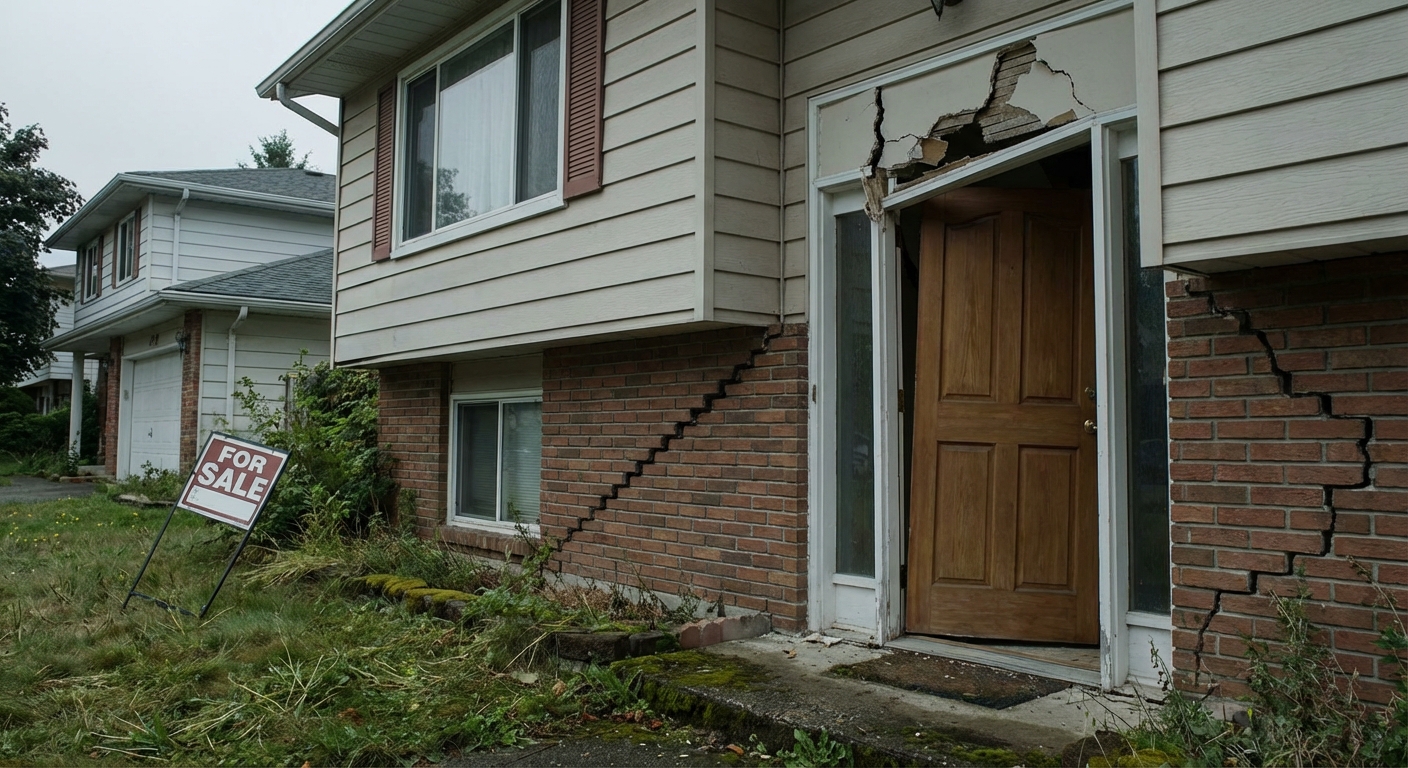
3. **Cracks in Foundations**: Over time, foundations can develop hairline cracks due to shifting soil, settling, or simply the aging process of the materials used. These tiny fissures can allow water to trickle in.
4. **Poor Drainage Systems**: Gutters and downspouts are your first line of defense against water intrusion. If these are clogged or poorly installed, water will bypass them and head straight for your foundation.
5. **Condensation**: Not all water comes from outside. Sometimes, humidity can turn your basement into a damp cave, leading to condensation on walls and ceilings.
The Importance of Basements and Basement Waterproofing
Your basement serves many purposes. It could be a gathering spot filled with holiday decorations, a personal gym, or even a rental apartment. Whatever its function, a flooded or damp basement can put a serious damper on activities. Therefore, it’s crucial to establish robust waterproofing measures that will protect both the basement’s contents and your home’s structure.
Step-by-Step Guide to Basement Waterproofing
Now that we’ve established the “why,” it’s time for the “how.” Here’s how to waterproof your basement effectively.
### Step 1: Inspect Your Basement
Before making any decisions, give your basement a thorough inspection. Look out for:
– **Moisture Stains:** Check the walls and floor for dark spots, as these indicate past moisture issues.
– **Mold Growth:** Mold loves damp environments. If you spot any, it’s time to take action.
– **Cracks:** Inspect the walls and floors for cracks or holes, and note their sizes and locations.
### Step 2: Improve Your Exterior Drainage
If your basement is prone to leaks, you might want to start outside. Here are a few adjustments you can make:
– **Gutter Maintenance:** Clean out debris from gutters and downspouts regularly. Ensure they are directing water at least six feet away from the foundation.
– **Landscaping:** Grade the soil around your home so that it slopes away from the foundation. This is beneficial on days when Mother Nature decides to unleash her fury.
### Step 3: Sealing Cracks and Leaks
Once you’ve improved exterior drainage, turn your attention to the interior. Here’s how to seal up those annoying leaks:
– **Concrete Sealants:** Use a quality concrete sealant to fill in the cracks. Make sure the surface is clean and dry before applying.
– **Epoxy Injection:** For larger cracks, consider using an epoxy injection to fill the voids completely. This provides a waterproof seal and strengthens the foundation.
### Step 4: Install a Sump Pump
If water intrusion is a regular issue, a sump pump can be a game changer. This device sits in a pit in your basement and pumps out any accumulated water. Consider the following tips:
– **Choose the Right Pump:** Make sure to select a sump pump appropriate for the size of your basement and expected water inflow.
– **Battery Backup:** Consider a sump pump with a battery backup. In the event of a power outage during a storm, you won’t be left high and dry—or rather, low and wet.
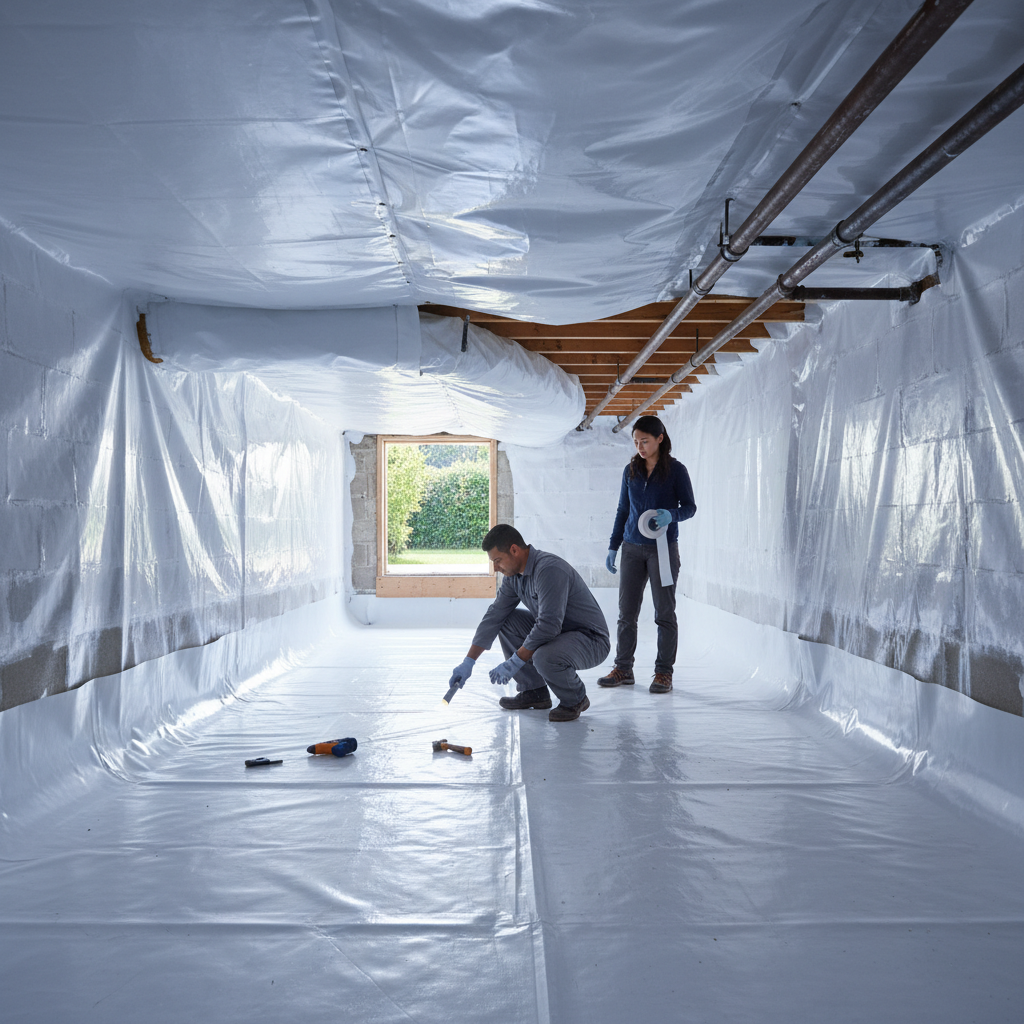
### Step 5: Use Interior Waterproofing Methods
For chronic issues, interior waterproofing solutions may be in order:
– **Waterproof Coatings:** Apply a waterproof coating to walls and floors designed to repel moisture.
– **Interior French Drains:** Consider installing an interior French drain system that collects water and directs it to your sump pump.
### Step 6: Ventilation is Key
Sometimes, preventing moisture is just as important as managing it. Increase airflow to keep your basement dry:
– **Dehumidifiers:** Invest in a dehumidifier to help control humidity levels, especially in summer months.
– **Ventilation Fans:** Consider installing ventilation fans to help air circulate and keep moisture levels in check.
### Step 7: Regular Maintenance
Congratulations! You’ve waterproofed your basement. Now, don’t forget the importance of regular maintenance. Here are a few tasks to incorporate into your home maintenance schedule:
– **Regular Inspections:** Every six months, inspect your basement for signs of water intrusion or mold.
– **Clean Gutters and Drains:** Keep those gutters and drains clear to prevent backflow and spillover.
– **Test Your Sump Pump:** Run your sump pump periodically to ensure it’s functioning properly.
Common Myths About Basement Waterproofing
With any home improvement project, myths abound. Let’s bust a few common misconceptions about basement waterproofing.
– **Myth: Waterproofing is Only Necessary in Flood-Prone Areas**
Fact: Even if you don’t live in a flood zone, groundwater and heavy rains can affect any home. Proactive measures are always worthwhile.
– **Myth: Sealing Cracks Alone is Enough**
Fact: While sealing cracks is important, comprehensive waterproofing must address external drainage and internal moisture sources.
– **Myth: It’s a DIY Job**
Fact: While some tasks can be DIY-friendly, complex alterations to existing drainage systems or major repairs should be handled by professionals.
Conclusion: Don’t Get Caught in the Rain
Basement waterproofing may seem daunting, but with this essential guide, you’re well-equipped to tackle the task. Remember, a little prevention goes a long way in protecting your home from water damage. With proper planning, maintenance, and perhaps a bit of professional help, your basement can remain dry and functional for years to come. After all, wouldn’t you rather be sipping a nice beverage in your cozy, dry haven than baling water like a sailor caught in an unexpected squall? Now that’s what we call peace of mind.