Essential Guide to Crawl Space Encapsulation: Protecting Your Home from Moisture and Pests
When you think about the foundations of a cozy home, your mind likely gravitates towards beautiful hardwood floors, plush carpets, and perhaps the occasional plant that your cat thinks is his personal buffet. You might not immediately picture the dark, damp underbelly of your home—the crawl space. However, this often-overlooked area plays a crucial role in the integrity of your entire house. By encapsulating your crawl space, you can effectively guard against moisture and pesky pests, ensuring your home remains a sanctuary. Buckle up as we delve into the essential aspects of crawl space encapsulation!
Understanding Crawl Spaces: The Good, the Bad, and the Ugly
Before we dive into the nuts and bolts of encapsulation, let’s take a moment to appreciate what a crawl space is. Picture it as the shy sibling of your home—often hidden away, not getting the attention it deserves, yet vital for structural support.
Crawl spaces are typically constructed between the ground and the first floor of a home, offering access to plumbing and electrical systems. While they can provide benefits like improved air circulation and easy access for repairs, they often become breeding grounds for humidity, mold, and unwelcome guests like termites and rodents.
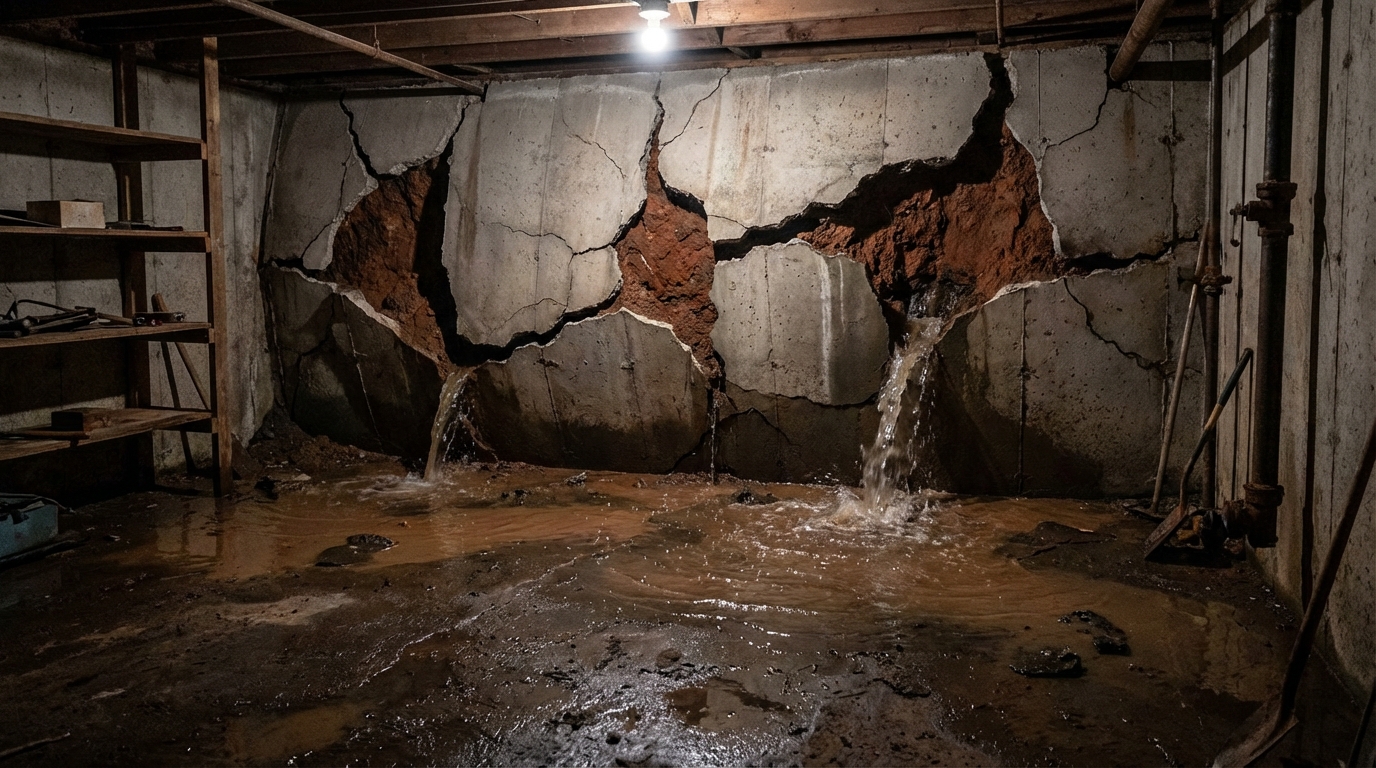
The double whammy of excess moisture and creeping critters can wreak havoc on your home, leading to structural damage, increased energy bills, and health issues due to mold spores in the air. So, what’s the solution? Enter crawl space encapsulation!
What is Crawl Space Encapsulation?
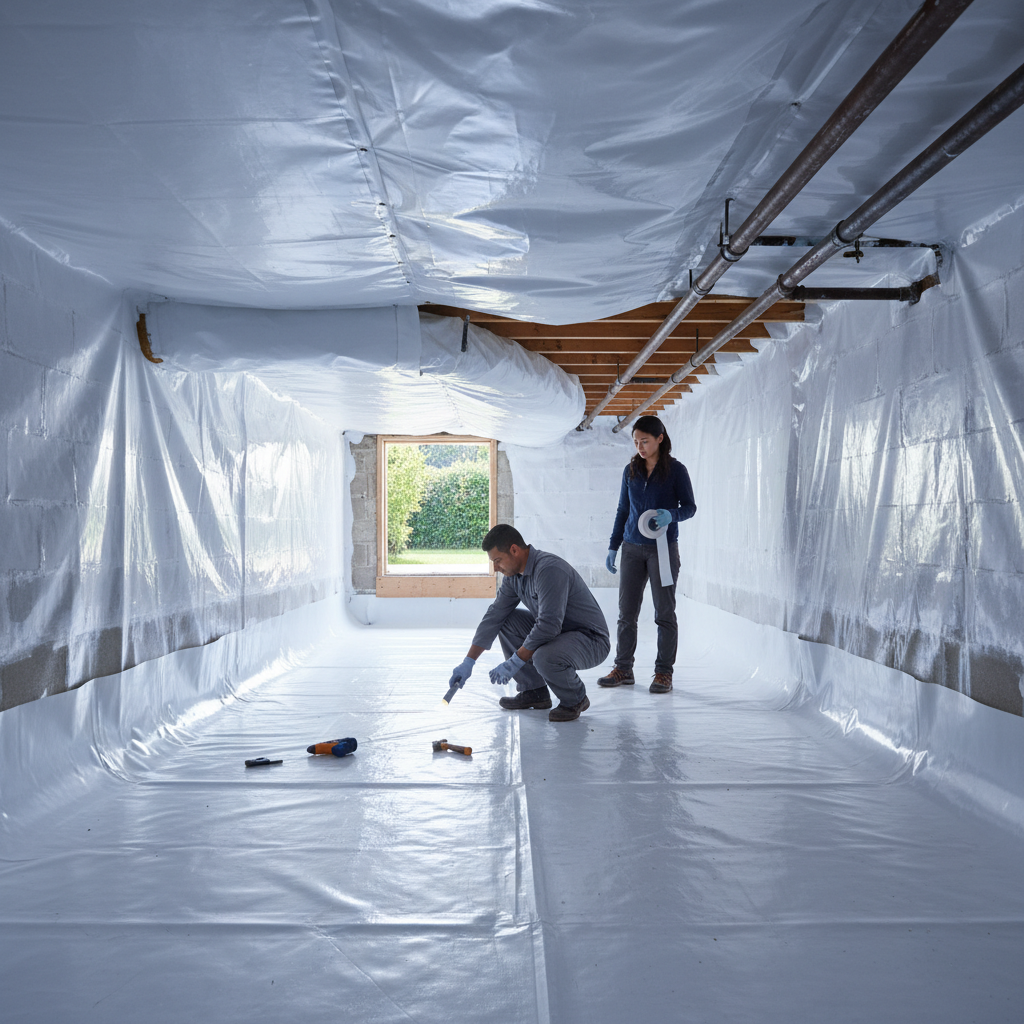
Crawl space encapsulation is akin to putting a protective bubble around that vulnerable area. It involves sealing off the crawl space with a durable vapor barrier and insulating the walls, effectively creating a controlled environment that prevents moisture infiltration and pest intrusion. Think of it as giving your crawl space a cozy blanket—not too hot, not too cold, just right.
A well-executed encapsulation project can transform your crawl space into a clean, dry, and usable area that supports your home’s overall health. Let’s explore the key components and benefits of this vital process.
Why Should You Encapsulate Your Crawl Space?
1. **Moisture Control**: One of the primary reasons to encapsulate your crawl space is to combat moisture. Damp environments invite mold growth, which can lead to health issues and structural problems. By installing a vapor barrier on the ground and sealing the walls, you create an impenetrable fortress against moisture.
2. **Pest Prevention**: Rodents, spiders, and insects love damp, dark spaces—sort of like a home-spun horror show. Encapsulation creates an inhospitable environment for these unwanted guests by eliminating moisture, making it less attractive for them to set up shop.
3. **Improved Air Quality**: What happens in the crawl space doesn’t stay in the crawl space. Poor air quality due to mold and other pollutants can seep into your home, triggering allergies and respiratory issues. Encapsulation helps improve indoor air quality by reducing the transfer of harmful substances from below.
4. **Energy Efficiency**: Encapsulating your crawl space can lead to significant energy savings. When maintained properly, a sealed crawl space will keep your home warmer in winter and cooler in summer, reducing the workload on your HVAC system. This is a win-win for both your comfort and your wallet.
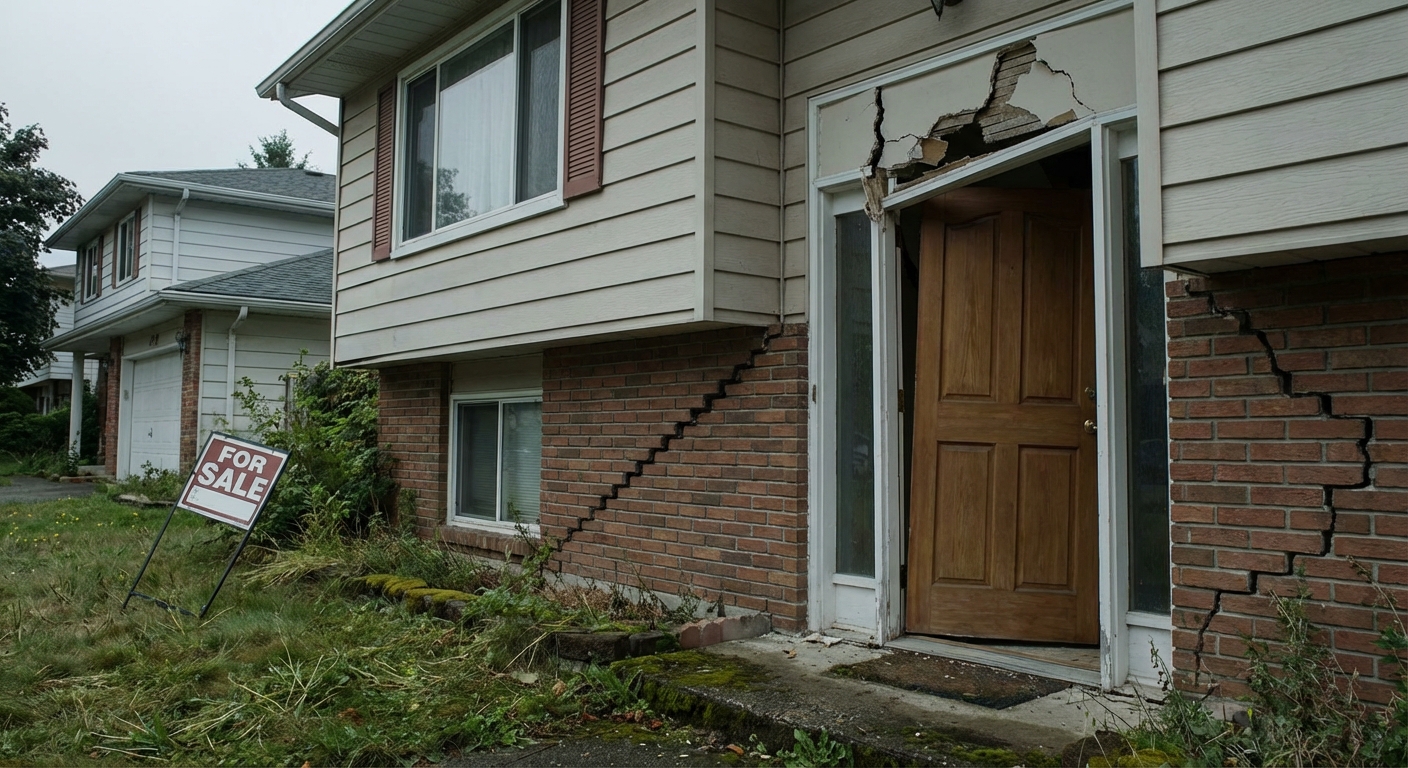
5. **Increased Home Value**: A dry, encapsulated crawl space can boost your property value. Potential buyers are more likely to be attracted to a home with a well-maintained crawl space, knowing they won’t have to face unexpected repairs.
How Does Crawl Space Encapsulation Work?
Now that we’ve established why encapsulation is a fantastic idea, let’s break down how it works. Grab your hard hat (or not, we’re not that formal), and let’s get into the details!
1. **Inspection and Preparation**: Before any work begins, it’s crucial to assess the current state of your crawl space. Check for existing moisture issues, signs of pest infestations, and structural concerns. Don’t be surprised if you find more than a few cobwebs and dust bunnies lurking around!
2. **Repair Any Damage**: If your crawl space has sustained damage, such as leaks or rotting wood, addressing these issues must come first. After all, encapsulating a damaged space is like putting a Band-Aid on a broken leg—it’s not going to end well.
3. **Install a Vapor Barrier**: The vapor barrier is the star of the show. Made of thick polyethylene, this barrier is laid across the ground and up the walls of the crawl space. It acts as an impermeable shield against moisture. Remember, the thicker the barrier, the better!
4. **Seal Vents and Openings**: Any vents or openings should be sealed to prevent outside air and moisture from entering. This includes closing off foundation vents and any gaps where pipes or wires enter.
5. **Insulation**: Insulating the walls and, if applicable, the ceiling of the crawl space further helps to regulate temperature and prevent condensation. Foam board insulation can be a great choice here.
6. **Dehumidifier Installation (Optional)**: In particularly humid climates, adding a dehumidifier can help maintain optimal humidity levels within the encapsulated crawl space. Consider it a little luxury for your home’s basement.
7. **Regular Maintenance**: Once your crawl space is encapsulated, maintenance is key. Regularly check for any signs of moisture or pests, and ensure that your dehumidifier is functioning correctly if you have one.
Common Myths About Crawl Space Encapsulation
As with any home improvement project, misconceptions abound. Let’s bust a few myths to clarify what encapsulation truly entails.
– **Myth 1**: Encapsulation is Only for Wet Crawl Spaces
Truth: While homes with existing moisture issues certainly benefit from encapsulation, all crawl spaces can gain advantages from this practice, enhancing air quality and preventing future issues.
– **Myth 2**: Encapsulation Makes Your Crawl Space Smell Funky
Truth: On the contrary! Sealing your crawl space can eliminate musty odors due to dampness and mold. It’s like a breath of fresh air for your home.
– **Myth 3**: It’s a DIY Job
Truth: While some homeowners enjoy getting their hands dirty, crawl space encapsulation involves specialized materials and techniques. Hiring a professional ensures the job is done correctly and effectively.
Cost Considerations for Crawl Space Encapsulation
Let’s talk turkey—how much should you expect to shell out for encapsulating your crawl space? The cost can vary significantly based on factors such as the size of your crawl space, the materials used, and labor costs in your area. Generally speaking, you can expect to pay anywhere from $1,500 to $15,000.
While this might sound steep, consider it an investment in your home’s health and longevity. We all know that fixing water damage or mold issues can cost much more in the long run, not to mention potential health ramifications.
Conclusion: Is Crawl Space Encapsulation Right for You?
If you’re still sitting on the fence after our deep dive into crawl space encapsulation, ask yourself this: Do you want a home that feels fresh, minimizes pests, and saves you money in energy bills? If your answer is “yes,” then encapsulation is likely a smart choice.
In the battle against moisture and pests, your crawl space is the unsung hero of your home. By taking proactive steps to encapsulate this area, you create a healthier living environment while safeguarding your investment. So go ahead, give your crawl space the attention it deserves—after all, it’s time for it to shine!