Essential Guide to Effective Basement Waterproofing Techniques for Homeowners
Basements, those often-overlooked realms of our homes, can be a treasure trove of extra space – or a soggy nightmare waiting to happen. If you’ve ever battled the dark and damp dread of water seeping into your lower level, you know that basement waterproofing isn’t just a maintenance option; it’s a necessity. This guide will equip you with the knowledge and techniques to protect your home from the perils of moisture, all while ensuring that you don’t lose your sense of humor in the process (because, let’s face it, we all need a little levity when dealing with water damage).
Understanding the Need for Basement Waterproofing
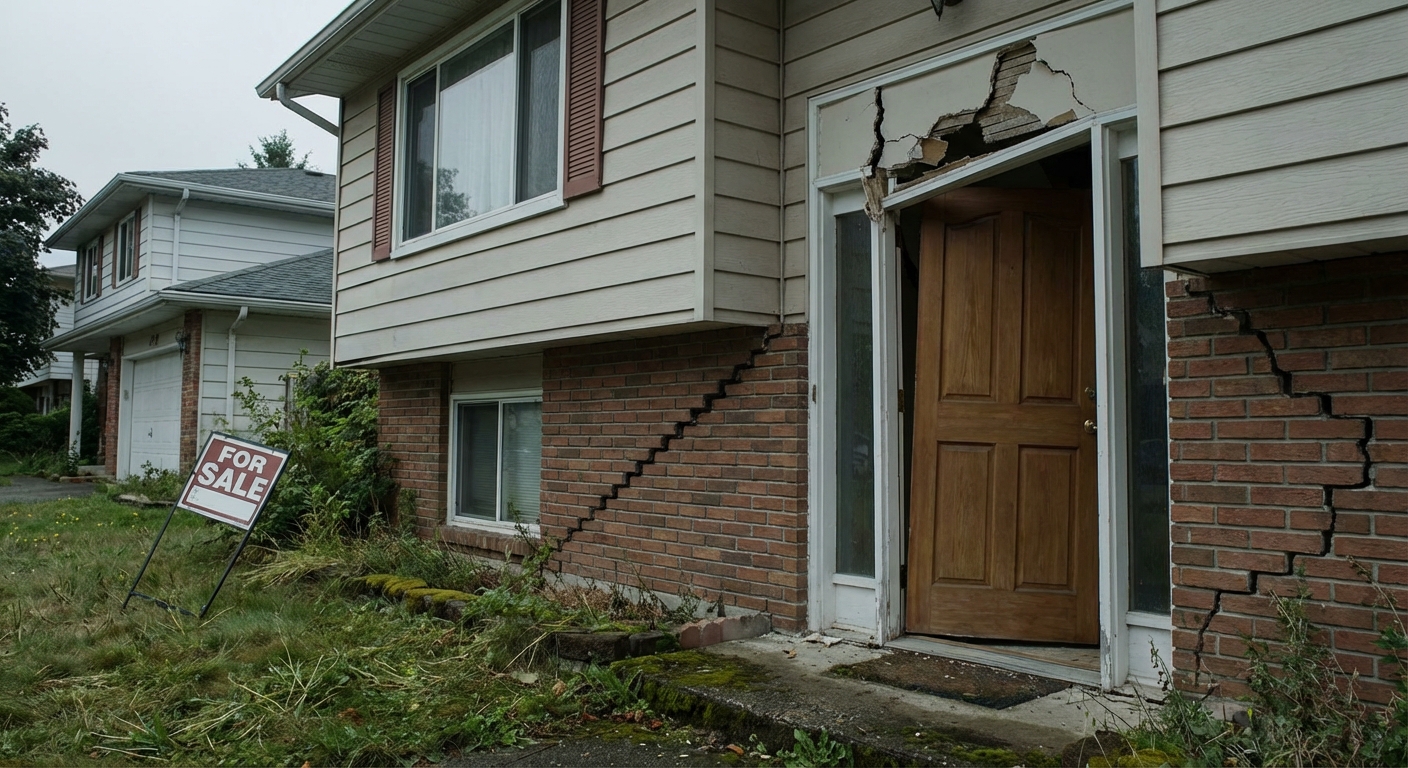
Before diving into the techniques, let’s explore why waterproofing is essential. Basements are naturally prone to moisture because they are below ground level, where the soil can be damp. When water builds up in the soil around your foundation, it seeks the path of least resistance – and that often means infiltrating your basement. This can lead to mold, mildew, and structural damage. Not quite the cozy retreat you had in mind for movie nights, huh?
Common Water Intrusion Sources
1. **Surface Water**: Rainwater that doesn’t drain properly can pool around your home and seep into the basement.
2. **Groundwater**: High water tables can increase pressure on your foundation walls, leading to leaks.
3. **Plumbing Leaks**: Old pipes can start to wear down, causing water to leak into your basement unexpectedly.
4. **Condensation**: Humidity levels can cause condensation on cold surfaces, contributing to the damp environment.
Identifying Basement Moisture Problems
The first step in addressing your basement’s hydration issues is to identify them. Look for:
– Water stains or discoloration on walls and floors
– A musty smell (if it reminds you of Aunt Edna’s old attic, it’s probably not good)
– Mold growth or mildew
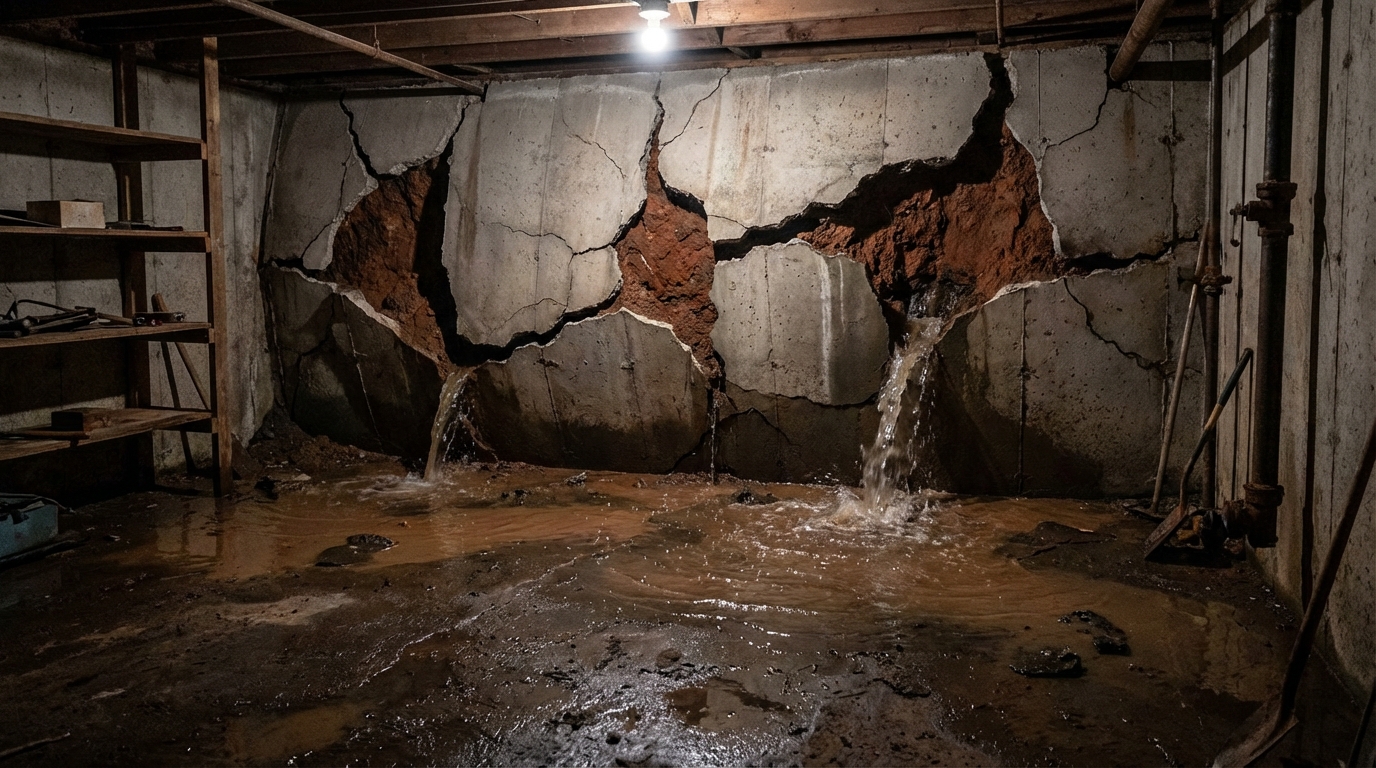
– Visible cracks in the foundation walls
– Puddles or damp spots after rain events
If you’ve discovered any of these signs, it’s time to roll up your sleeves. Let’s get to the meat and potatoes of basement waterproofing techniques!
Exterior Waterproofing Techniques
1. **Grading and Drainage Improvements**
Proper grading ensures that water flows away from your home’s foundation. The ground around your house should slope away from the foundation at a ratio of at least 6 inches over 10 feet. If your yard feels like a water park after a heavy rain, it might be time to adjust the grading or add drainage solutions.
2. **Gutter Maintenance**
Your gutters are your first line of defense against water intrusion. Make sure they’re clean and clear of debris so that they can effectively channel rainwater away from your home. Downspouts should extend at least 5-10 feet away from the foundation. Bonus: this also keeps your landscaping from becoming a swamp.
3. **French Drains**
A French drain is a trench filled with gravel and a perforated pipe that redirects surface and groundwater away from your basement. This highly effective system can save you from the heartbreak of a soggy lower level. Installing one involves digging a trench, laying down the pipe, and covering it with gravel. It sounds like a lot of work, but think of it as an investment in your peace of mind.
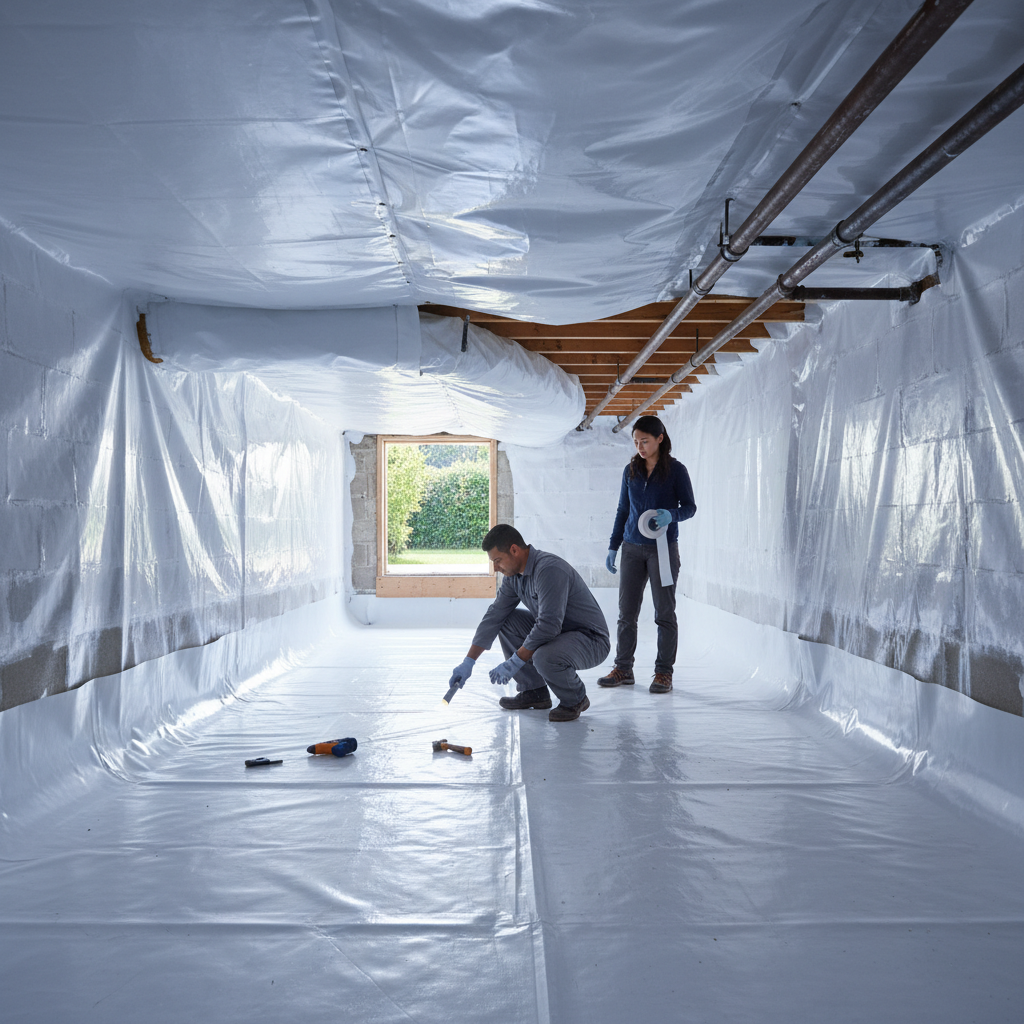
4. **Damp Proofing and Waterproofing Membranes**
Applying a waterproofing membrane to the outside of your foundation can create a barrier against water infiltration. Liquid waterproofing compounds are available for this task, and they can be applied directly to the foundation walls. Keep in mind that this step requires some elbow grease and may involve excavating around your foundation, so prepare for a workout.
5. **Foundation Repairs**
Cracks in your foundation can be a direct pathway for water. Sealing these cracks with hydraulic cement or polyurethane foam can help block unwanted moisture. For larger or structural cracks, consider consulting a professional to ensure there are no underlying issues.
Interior Waterproofing Techniques
Now, let’s move inside. While exterior methods are crucial, there are also several techniques to combat moisture from within.
1. **Interior Drainage Systems**
An interior drainage system consists of a network of drains placed along the perimeter of your basement to channel water into a sump pump. This setup is particularly useful if you experience regular basement flooding. Installing a sump pit (a hole that collects water) allows your sump pump to spring into action, pumping out excess water and keeping your basement nice and dry.
2. **Dehumidifiers**
A dehumidifier isn’t just a fancy appliance for your aunt’s cottage; it can be a lifesaver for your basement! This device helps control humidity levels, making it less hospitable for mold and mildew. Choose a model suited for the size of your basement, and consider setting it to run continuously during humid months.
3. **Waterproof Paints**
While waterproof paint won’t solve severe moisture problems, it can serve as a helpful barrier for minor dampness. Look for specialty paints designed for basements that can seal porous surfaces and resist moisture absorption.
4. **Ventilation Improvements**
Improving air circulation can help combat moisture build-up. Consider adding vents or using exhaust fans to promote airflow, especially in areas where humidity levels can rise.
Preventive Measures to Ensure Long-term Success
Once you’ve tackled the immediate issues, it’s essential to maintain your efforts to ensure long-term success against moisture intrusion. Here are some preventive measures:
1. **Regular Inspections**
Perform routine inspections of your basement and surrounding areas to catch potential problems early. Look for new cracks, standing water, or changes in humidity levels.
2. **Landscaping Maintenance**
Your landscaping should enhance your home’s drainage system rather than hinder it. Regularly trim back plants and bushes near your foundation to allow for proper airflow and drainage. It’s also wise to avoid planting trees with invasive roots too close to your foundation.
3. **Seasonal Maintenance**
As seasons change, your home will experience different challenges. Before winter, check your gutters, downspouts, and drainage systems to ensure they’re ready for snowfall and melting. In spring, watch for any water pooling around your foundation after winter thaws.
4. **Professional Assessments**
When in doubt, consult a professional. A certified waterproofing contractor can provide insights tailored to your specific situation, helping you make informed decisions about necessary repairs or improvements.
Final Thoughts
Basement waterproofing may seem daunting, but with the right strategies, you can transform your damp dungeon into a dry and inviting sanctuary. Remember, a proactive approach is key. By understanding the sources of moisture, implementing effective waterproofing techniques, and maintaining your efforts over time, you’ll keep those pesky water woes at bay.
And who knows? With a little luck and a lot of planning, your basement might become the favorite room in your home – perfect for everything from family game nights to becoming an at-home yoga studio (because, really, we all need a little zen space). So roll up your sleeves, dust off that toolbox, and get ready to conquer your basement’s moisture issues once and for all!