Essential Guide to Effective Crawl Space Encapsulation for Long-Lasting Home Protection
When it comes to safeguarding your home, some areas get more attention than others—think of the roof, the walls, and even that pesky front porch step that has seen better days. But lurking below us, often forgotten, is the crawl space. This unsung hero of home construction plays a crucial role in maintaining your home’s integrity and comfort. If you’ve never heard of crawl space encapsulation or thought of it as just another home improvement fad, buckle up. It’s time to dive deep into the essential guide to effective crawl space encapsulation for long-lasting home protection.
Understanding the Crawl Space
Before we start putting up walls (figuratively speaking), let’s clarify what a crawl space is. Typically found in homes with a raised foundation, a crawl space is the area between the ground and the first floor, allowing access to plumbing, electrical wiring, and insulation. While it sounds like a perfect hideout for spiders and dust bunnies, it can also become a breeding ground for moisture and mold if not properly maintained.
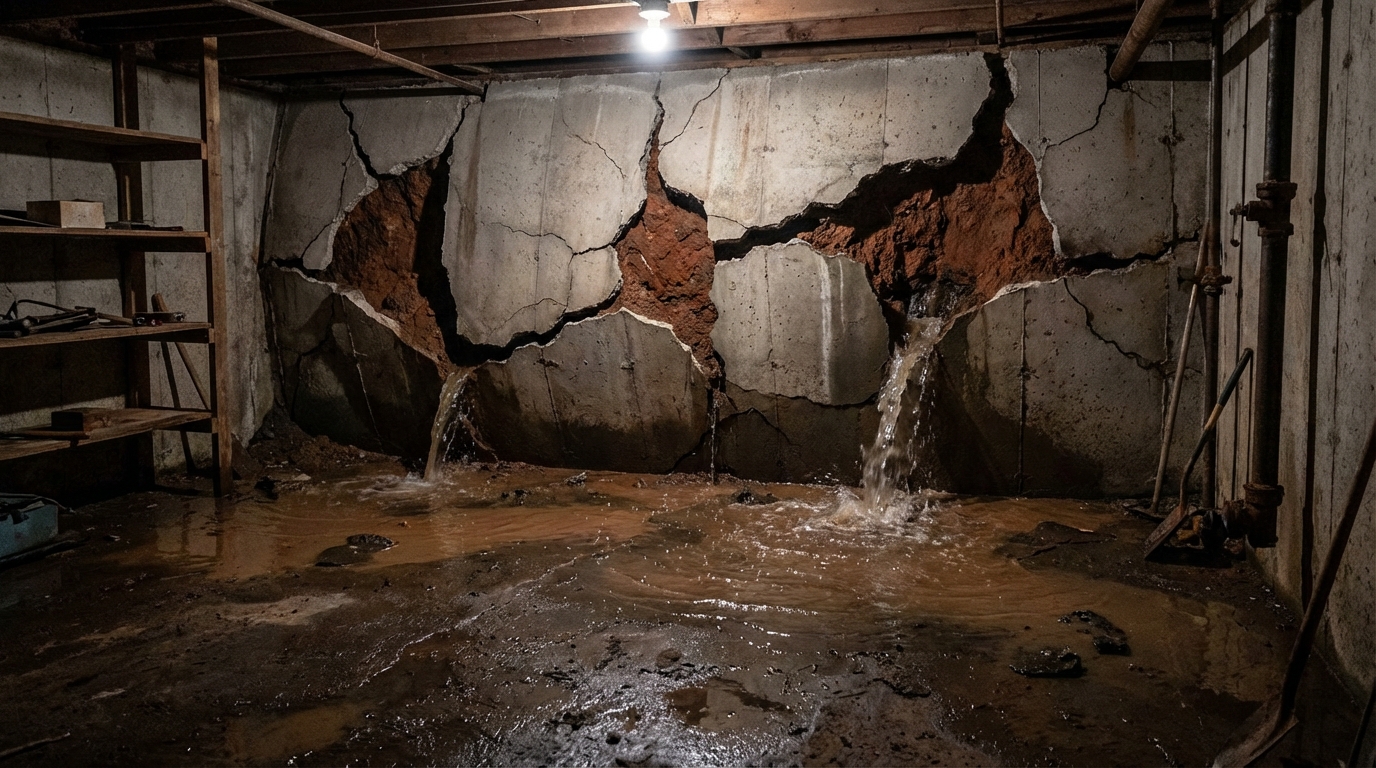
Crawl spaces come in various shapes and sizes, and their condition can significantly impact the rest of your home. Picture this: a damp, musty-smelling crawl space can lead to mold growth, wood rot, and eventually structural damage. Not to forget, it can affect your indoor air quality, making your home less comfortable. On top of that, who wants to deal with a pest invasion? It’s enough to make you appreciate the dry and cozy corners of your living room!
What Is Crawl Space Encapsulation?
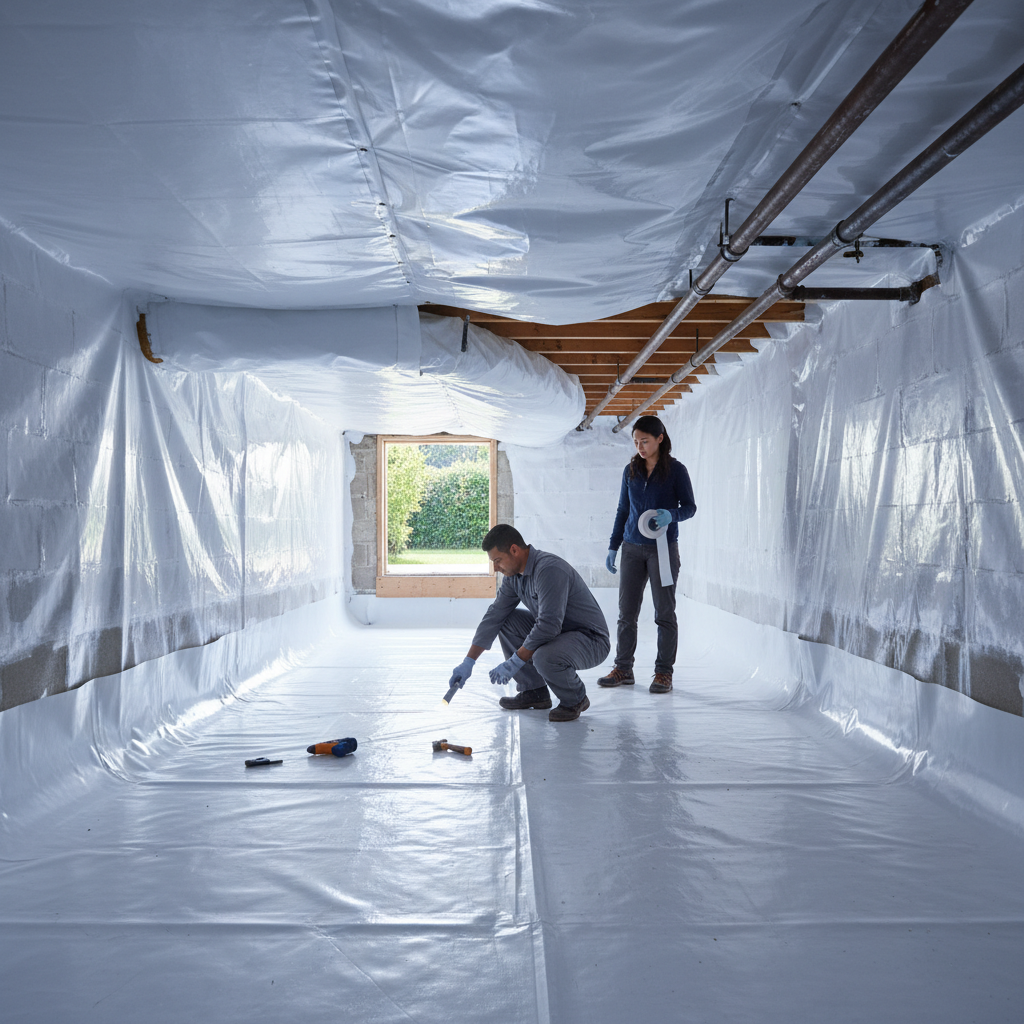
Crawl space encapsulation is the process of sealing off your crawl space from the outside environment. This involves installing a vapor barrier on the ground, sealing vents, and ensuring proper insulation and drainage. The primary goal? To keep moisture out and create a controlled environment within the crawl space.
Imagine your crawl space as a delicate dessert. If you leave it exposed to the elements, it’ll fall apart faster than a poorly made soufflé! Proper encapsulation acts like a protective glaze, helping to keep all those delicious layers intact while preventing any unwanted moisture from ruining your masterpiece.
Why Should You Consider Crawl Space Encapsulation?
Now that we’ve set the stage, let’s discuss why you should think about crawl space encapsulation.
1. **Moisture Control**: Moisture is the enemy of every home. Encapsulation significantly reduces humidity levels, preventing mold growth and protecting wooden structures from rot. A dry crawl space means a healthy home—and nobody likes a sick house, especially with all those high doctor bills!
2. **Enhanced Energy Efficiency**: A well-sealed crawl space can lead to lower energy bills. By preventing conditioned air from escaping, your heating and cooling systems won’t have to work as hard. Think of encapsulation as giving your HVAC system a nice little vacation—it can run smoothly, and you get to enjoy lower energy costs!
3. **Improved Air Quality**: The air in your crawl space can travel to the upper levels of your home. So, if you’re breathing in musty odors or mold spores, it’s time to take action. Encapsulation removes these contaminants, resulting in fresher air and a healthier living environment. Who doesn’t want that?
4. **Pest Prevention**: Rodents and insects love dark and damp places. An encapsulated crawl space makes it harder for critters to take up residence in your home. Think of it as putting up a “No Vacancy” sign for pests!
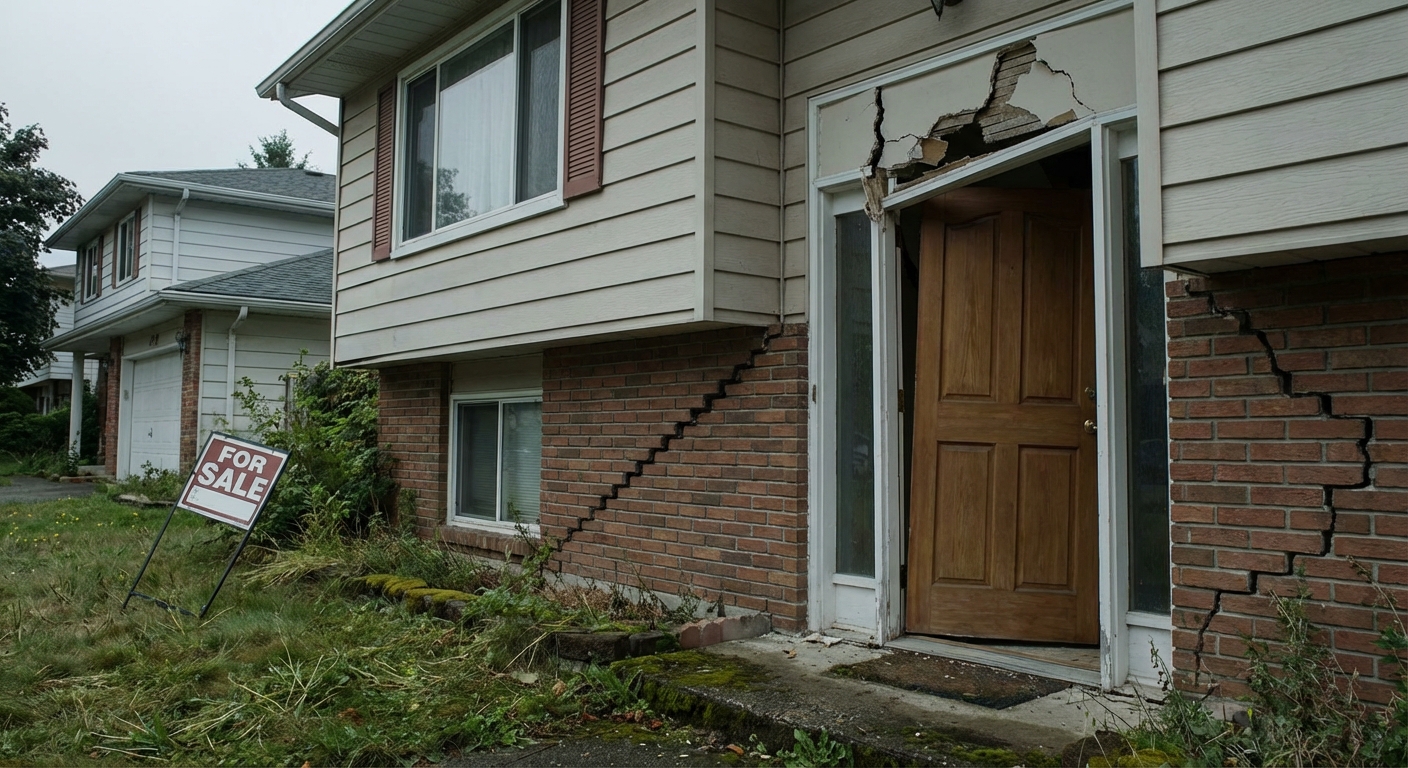
5. **Increased Home Value**: Potential buyers often look for homes that are well-maintained. A properly encapsulated crawl space is a big selling point, demonstrating that you’ve taken steps to protect your investment. Your future self (or the next homeowner) will thank you!
The Steps to Effective Crawl Space Encapsulation
Ready to transform that neglected crawl space into a fortress of dryness? Here are the essential steps you need to follow for effective crawl space encapsulation:
1. **Inspection**: Before diving in, you need to assess your crawl space. Look for signs of moisture, mold, and pest infestations. If you find major issues like standing water or extensive mold growth, consult a professional before proceeding.
2. **Clear the Space**: Remove all debris from the crawl space. Old insulation, trash, and other clutter are not only unappealing but can also trap moisture. It’s time for a clean slate—think of it as spring cleaning for beneath your feet!
3. **Fix Any Moisture Issues**: Address any leaks or drainage problems. Ensure gutters direct water away from the foundation, and consider installing a sump pump if necessary. Nobody wants a swimming pool under their house!
4. **Install a Vapor Barrier**: Lay down a polyethylene vapor barrier over the dirt or concrete floor. Make sure it’s at least 6 mil thick and overlaps at seams. Seal the seams with tape. This barrier will keep moisture from seeping up into your crawl space.
5. **Seal Vents and Openings**: Close off any vents that lead to the outside. This helps to prevent moist air from entering the crawl space. You might feel like you’re closing off a secret lair, but it’s for the greater good!
6. **Insulate the Walls**: Insulating the walls of your crawl space will help maintain temperature and reduce humidity. Use rigid foam board insulation or spray foam insulation for best results. It’s like giving your crawl space a cozy blanket!
7. **Consider Dehumidification**: Depending on your climate, installing a dehumidifier can be a great addition to your encapsulation plan. It’ll help keep humidity levels low and air fresh. Just remember to empty it regularly unless you fancy a little indoor water feature!
8. **Final Check**: Once everything is installed, do a final inspection. Ensure that the vapor barrier is intact, vents are sealed, and insulation is properly placed. You’re almost ready to declare victory!
Maintaining Your Encapsulated Crawl Space
Congratulations! You’ve successfully encapsulated your crawl space, providing a solid layer of protection for your home. But don’t kick back just yet; regular maintenance is key to keeping everything in top shape:
– Regularly inspect the crawl space for signs of moisture, mold, or pests.
– Keep an eye on the health of your vapor barrier and replace it if you notice any damage.
– If you have a dehumidifier, check it regularly and ensure it’s functioning effectively.
– Keep gutters clean and ensure proper drainage around your home.
Maintaining your crawl space may not be the most glamorous task, but it’s one that pays off in the long run—like brushing your teeth or occasionally doing laundry.
Conclusion
Crawl space encapsulation is an essential practice for homeowners looking to protect their property, improve indoor air quality, and increase energy efficiency. By understanding the importance of this often-overlooked area of your home and following the steps outlined in this guide, you can create a dry, healthy, and safe environment beneath your feet.
So, don’t let your crawl space languish in the shadows. Take charge, encapsulate, and enjoy the benefits of a well-protected home. You’ll be the proud owner of a fortress against moisture, pests, and those pesky energy bills—you might even feel like a superhero in your own right!