Essential Guide to Protecting Your Home: Understanding the Benefits of Crawl Space Encapsulation
When it comes to protecting your home, many homeowners focus on visible areas like roofs, windows, and doors. However, there’s an unsung hero lurking beneath our floors—the crawl space. This often-overlooked area can significantly impact the overall health of your home. One of the best defenses against moisture, pests, and deterioration is crawl space encapsulation. In this essential guide, we’ll explore what crawl space encapsulation is, its benefits, and why you should consider it for your home.
### What is Crawl Space Encapsulation?
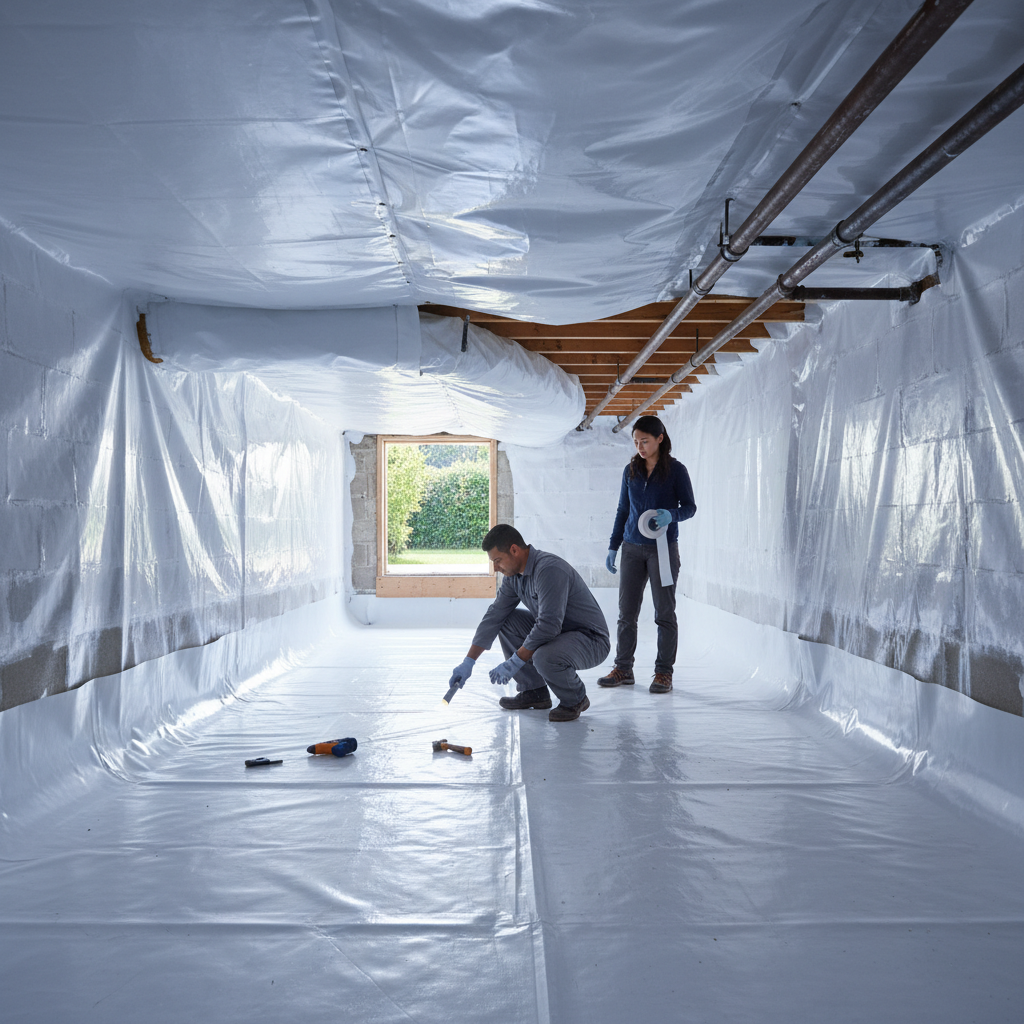
Crawl space encapsulation is a process that involves sealing off your crawl space from outside elements. This is typically done by covering the walls and floor with a high-quality vapor barrier, sealing vents, and ensuring there is no air leakage. The goal is to create a clean, dry environment that prevents moisture from causing havoc below your home.
Think of your crawl space as the basement’s less glamorous cousin. It doesn’t get much attention, but it deserves a little love, too! By fortifying this area, you’re not only protecting your foundation but also improving the air quality in your living spaces above.
### Why is Crawl Space Encapsulation Important?
#### 1. Moisture Control
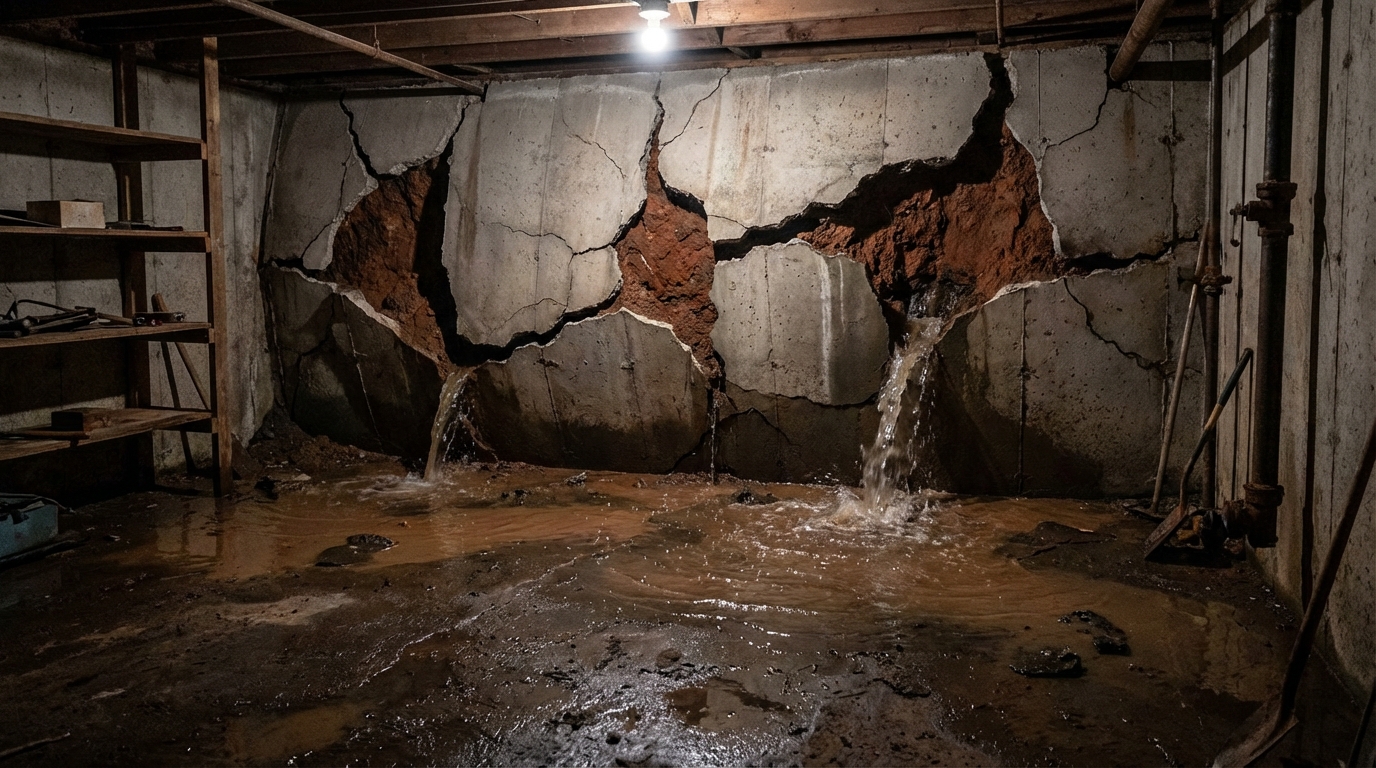
Excess moisture in your crawl space can lead to a host of problems, from mold growth to wood rot. When the humidity levels rise, it creates the perfect breeding ground for mold, which can infiltrate your home’s air supply. Mold not only affects structural integrity; it can also harm your family’s health.
Crawl space encapsulation effectively keeps the moisture out, creating a dry environment that discourages mold growth. Imagine your crawl space saying, “Thank you, I’ve been waiting for this!”
#### 2. Improved Air Quality
Did you know that the air in your home’s upper levels can be directly influenced by the air in your crawl space? When mold and mildew thrive down below, their spores can permeate your living areas, triggering allergies and respiratory issues. Encapsulating your crawl space cuts off the means for these airborne irritants to travel upward.
It’s an investment in fresh air. You’ll not only breathe easier but may also avoid those pesky allergy symptoms that seem to hit out of nowhere.
#### 3. Energy Efficiency
A sealed crawl space can lead to improved energy efficiency. If your crawl space is vented and exposed to outdoor conditions, your HVAC system has to work overtime to maintain comfortable temperatures inside your home.
By keeping the crawl space encapsulated, you create a more controlled environment. This can result in lower heating and cooling costs and an overall reduction in your energy bills. Who wouldn’t want to save a little cash while keeping their home cozy?
#### 4. Pest Prevention
Crawl spaces are prime real estate for pests such as rodents, insects, and other unwanted critters. They find comfort in damp, dark places, setting up shop and wreaking havoc when they invade your home.
Encapsulating your crawl space limits access for these pests and creates an unwelcoming dry environment. Keep in mind though, even with encapsulation, regular inspections and maintenance are key. Consider it a pest-free zone, where the only critters allowed are your well-behaved pets!
#### 5. Structural Protection
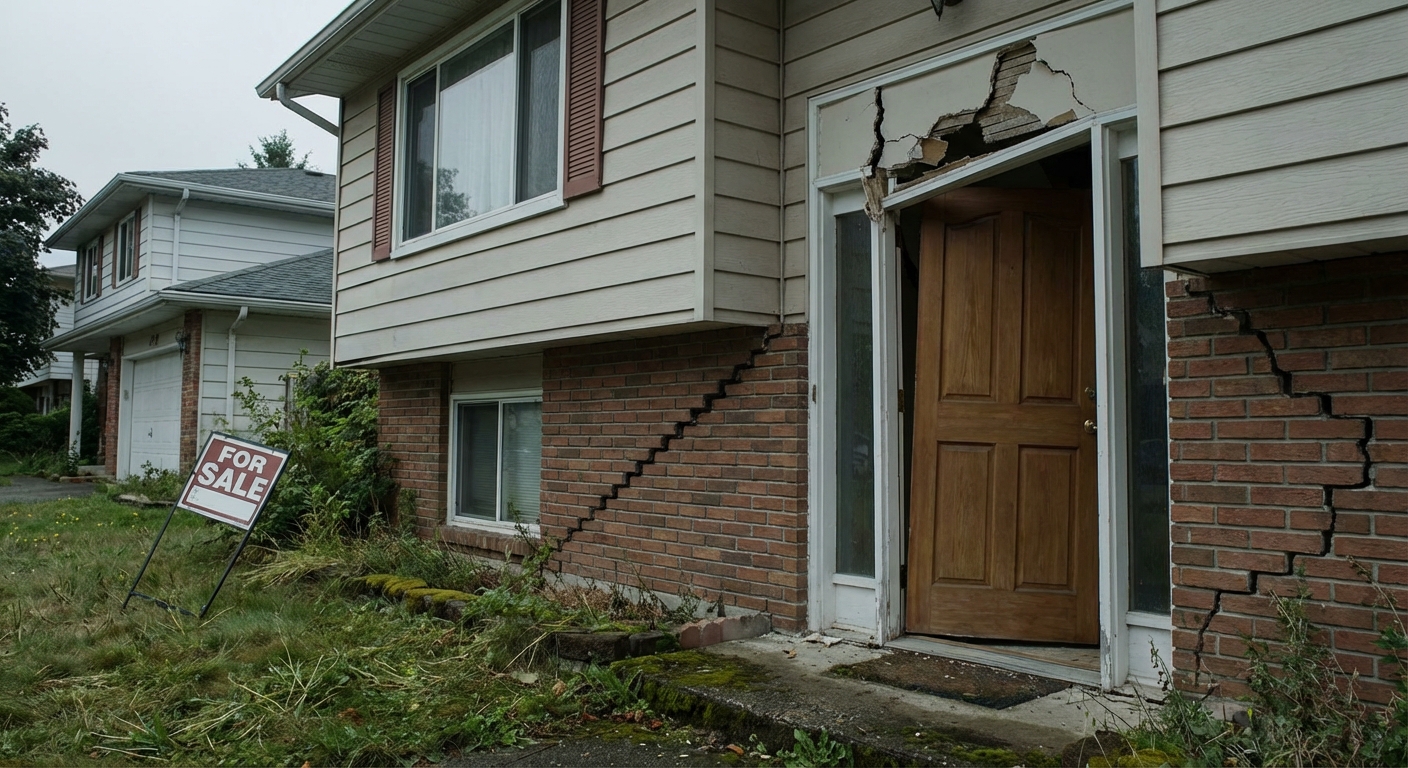
Moisture can cause wood and foundation damage, leading to costly repairs down the line. When wood beams become wet, they can warp, crack, or decay, which can compromise your home’s structural integrity.
By encapsulating your crawl space, you shield the foundational elements of your home from the damaging effects of moisture. Think of it as a knight in shining armor, protecting the castle’s most vulnerable points!
### Encapsulation Materials: What You Need to Know
When it comes to crawl space encapsulation, not all materials are created equal. Here are a few key components you should know about:
#### Vapor Barriers
These are heavy-duty plastic sheets that cover the ground and walls of your crawl space. Look for at least a 20-mil thick barrier, as thinner options may not provide adequate protection. A vapor barrier acts as a blockade against moisture and keeps your crawl space as dry as the Sahara… well, almost.
#### Insulation
Insulating the walls of your crawl space helps to keep the temperatures regulated and can prevent heat loss. Rigid foam board insulation is often a preferred choice because it resists moisture and provides excellent thermal protection.
#### Dehumidifiers
In particularly humid areas, installing a dehumidifier in your encapsulated crawl space may be necessary to control moisture levels further. This device works tirelessly to keep the air dry and comfortable. It’s kind of like having a personal bodyguard for your crawl space—always vigilant and ready to eliminate humidity!
### The Process of Crawl Space Encapsulation
Ready to embark on this home improvement journey? Here’s a brief overview of what the crawl space encapsulation process typically looks like:
1. **Inspection**: A professional will assess your crawl space for any signs of existing damage, mold, or moisture problems.
2. **Cleaning**: The next step involves cleaning the crawl space to remove debris, dirt, and any existing mold. This step prepares the area for an effective encapsulation.
3. **Repair**: Any damaged areas, such as wood or insulation, will be repaired before proceeding. This ensures that you’re starting with a solid foundation.
4. **Installation**: A high-quality vapor barrier will be installed over the entire ground surface and up the walls. Vents will be sealed to prevent outside air from penetrating.
5. **Insulation**: Rigid insulation panels may be added to enhance energy efficiency.
6. **Dehumidification**: If necessary, a dehumidifier will be set up to further control moisture levels.
7. **Final Inspection**: Once everything is in place, a final inspection will confirm that your crawl space is secure and encapsulated correctly.
### DIY vs. Professional Installation
While some homeowners may feel tempted to tackle crawl space encapsulation as a DIY project, it’s important to weigh the pros and cons. On one hand, doing it yourself can save money. On the other, proper encapsulation requires knowledge of building codes, materials, and techniques.
If you prefer to play it safe and ensure that the job is done right, hiring a professional is often the best route. Professionals have the experience needed to identify hidden issues that you might miss. Plus, you’ll have peace of mind knowing that your encapsulation is performed by someone who knows what they’re doing!
### Maintaining Your Encapsulated Crawl Space
After you’ve successfully encapsulated your crawl space, regular maintenance is crucial to keep it in tip-top shape. Here are some tips to help:
– **Routine Inspections**: Regularly check your crawl space for any signs of moisture build-up, pest invasions, or damage.
– **Monitor Humidity Levels**: If you’ve installed a dehumidifier, keep an eye on the humidity readings. You want to maintain levels between 30-50%.
– **Clean Up**: Keep the area clear of debris and clutter that could trap moisture. Make it easy for air to circulate!
– **Seal Any Openings**: If you notice any cracks or openings, seal them promptly to prevent moisture and pests from entering.
### Conclusion
Crawl space encapsulation might not be the first thing that comes to mind when thinking of home improvements, but it’s a powerful way to protect your home’s integrity, health, and comfort. From moisture control and improved air quality to energy savings and pest prevention, the benefits are clear.
So, from now on, don’t just walk over your crawl space; give it the respect it deserves! After all, it’s the guardian of your home’s foundation, working quietly behind the scenes. Whether you choose to go DIY or hire a professional, taking steps to encapsulate your crawl space will pay off in the long run. And who knows? You might just discover that your crawl space wants to shine a little brighter in the spotlight after all!