Essential Steps for Effective Basement Waterproofing: Protecting Your Home from Water Damage
Homeownership is often a rewarding experience filled with pride, creativity, and the occasional existential crisis brought on by the discovery of water in your basement. Yes, that’s right. A wet basement can quickly turn your cozy abode into a scene from a disaster movie. Not only does water damage threaten the integrity of your home, but it can also create a delightful environment for mold – an unwanted houseguest who never leaves. Let’s walk through the essential steps for effective basement waterproofing to ensure that your home remains a fortress against moisture.
Understanding the Importance of Basement Waterproofing
Before we dive into the nitty-gritty of waterproofing, let’s address why this is critical. Your basement is typically the most susceptible part of your house to water intrusion due to its location below ground level. Here are some common culprits:
– **Rainwater and Melted Snow**: These pesky elements can seep into your foundation without an invitation.
– **Groundwater**: The natural water table in your area might decide to rise up, sending water into your basement.
– **Leaky Pipes**: Sometimes, your plumbing system has more leaks than a sponge.
Effective basement waterproofing protects not only your home’s structure but also your health. It helps prevent mold growth and creates a healthier living space. Now that we understand the importance of this task, let’s explore how to do it effectively!
Step 1: Conduct a Thorough Inspection
Before you can apply any fancy waterproofing techniques, you need to assess your basement’s current condition. Start by doing a detailed inspection. Here’s what to look for:
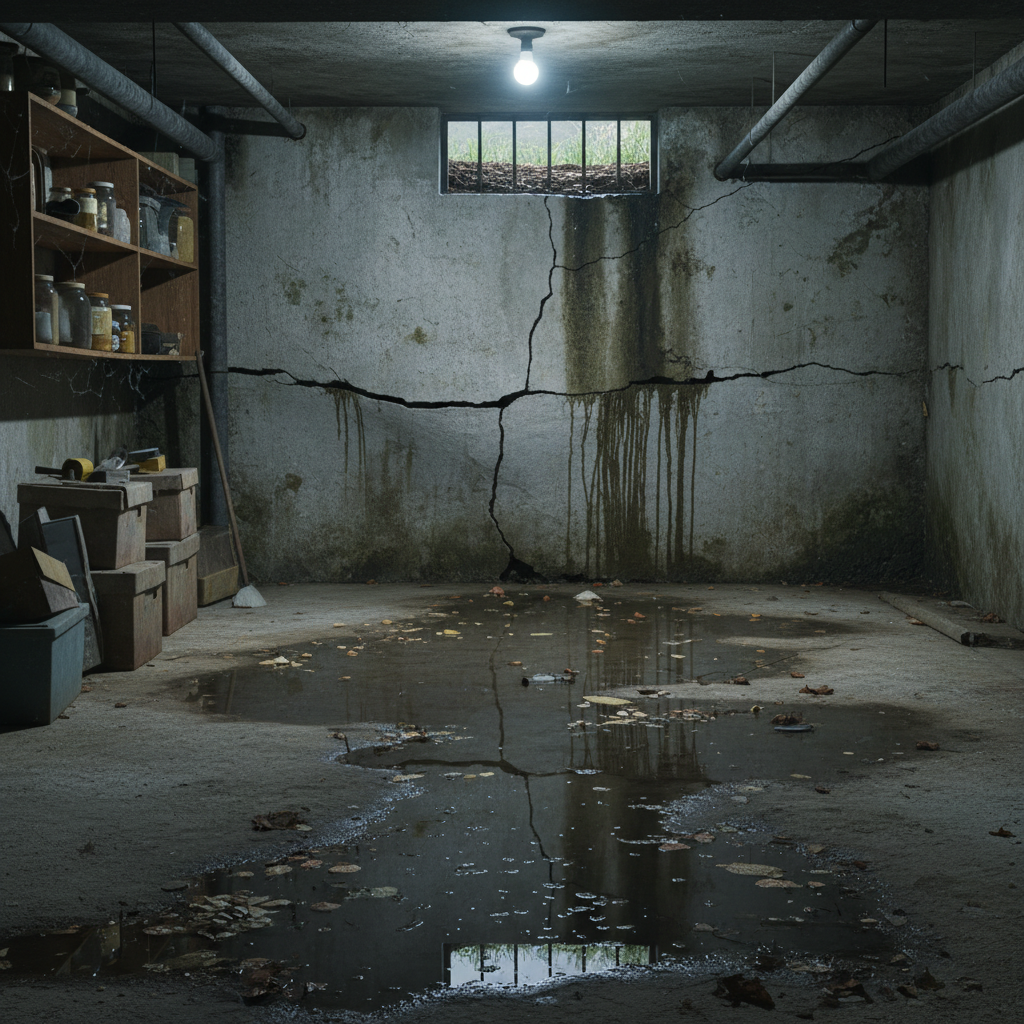
– **Cracks in the Walls and Floors**: Look out for visible cracks or gaps. If you can fit a finger in there, it’s probably a problem.
– **Signs of Moisture**: Check for discoloration, damp spots, or efflorescence (the chalky residue left by evaporated water).
– **Water Stains**: If your basement walls are looking like a watercolor painting, you may have a bigger issue.
– **Musty Odors**: A smell reminiscent of a damp dog can indicate problems lurking behind the scenes.
Tip: If the inspection uncovers serious issues, consider hiring a professional inspector. They’ll have the tools to identify potential water intrusion paths you might overlook.
Step 2: Improve Grading and Drainage
Believe it or not, your yard has a big role to play in keeping your basement dry. Start working on the grading around your home. This means ensuring that the ground slopes away from your foundation. A slope of at least six inches over ten feet is generally recommended.
– **Downspout Management**: Make sure your gutters are clean and that downspouts direct water at least five to ten feet away from your foundation. If they’re not long enough, invest in extensions – they are worth their weight in gold when it comes to diverting water.
– **French Drains**: If your yard seems like a swamp, installing a French drain system can improve drainage. These pipes collect excess water and direct it away from your foundation. Install one and watch your yard go from soggy to splendid.
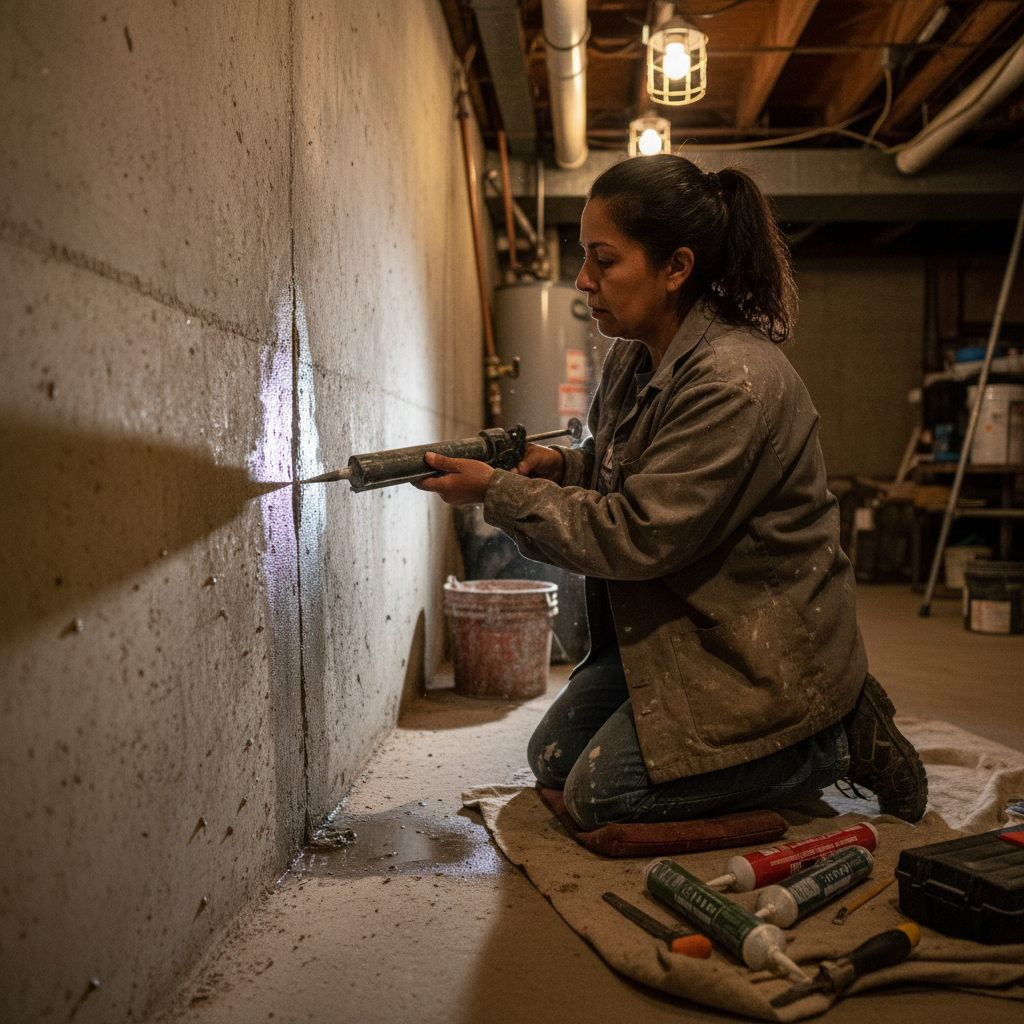
Step 3: Seal Cracks and Openings
Once you’ve inspected and addressed outdoor drainage issues, it’s time to tackle those cracks and openings in your basement.
– **Select the Right Sealant**: Use a high-quality masonry sealant or epoxy injection for cracks in walls and floors. Make sure to read the label to determine its suitability for your specific needs. Just because it’s sealing doesn’t mean it’s sealing right.
– **Apply the Sealant**: Clean the area thoroughly before applying the sealant. Allow it to dry according to the manufacturer’s instructions. Who knew waiting could be this rewarding?
Step 4: Install a Waterproofing Membrane
For added protection, consider applying a waterproof membrane to the interior walls of your basement. There are peel-and-stick membranes and liquid membranes available:
– **Peel-and-Stick Membranes**: These are applied directly to the wall, creating a physical barrier against moisture. Don’t forget to press firmly; you want them to stick better than a toddler to a candy bar.
– **Liquid Membranes**: These are painted on, creating a seamless barrier. Just grab a paint roller and have at it! Enjoy the oddly satisfying experience of watching the liquid sealant cover those troublesome walls.
Step 5: Install a Sump Pump
Sometimes you need to take matters into your own hands, particularly when it comes to excessive water accumulation. A sump pump can serve as your basement’s very own superhero.
– **Choosing the Right Pump**: Depending on your needs, you can opt for submersible or pedestal pumps. Submersible pumps are quieter and sit inside the sump pit, while pedestal pumps sit on the floor above and are easier to service.
– **Installation**: Dig a sump pit in the lowest part of your basement. Install the pump according to the manufacturer’s instructions, and make sure to test it regularly. If it sounds like a jet engine when it kicks on, congratulations! You’ve successfully installed your mini flood fighter.
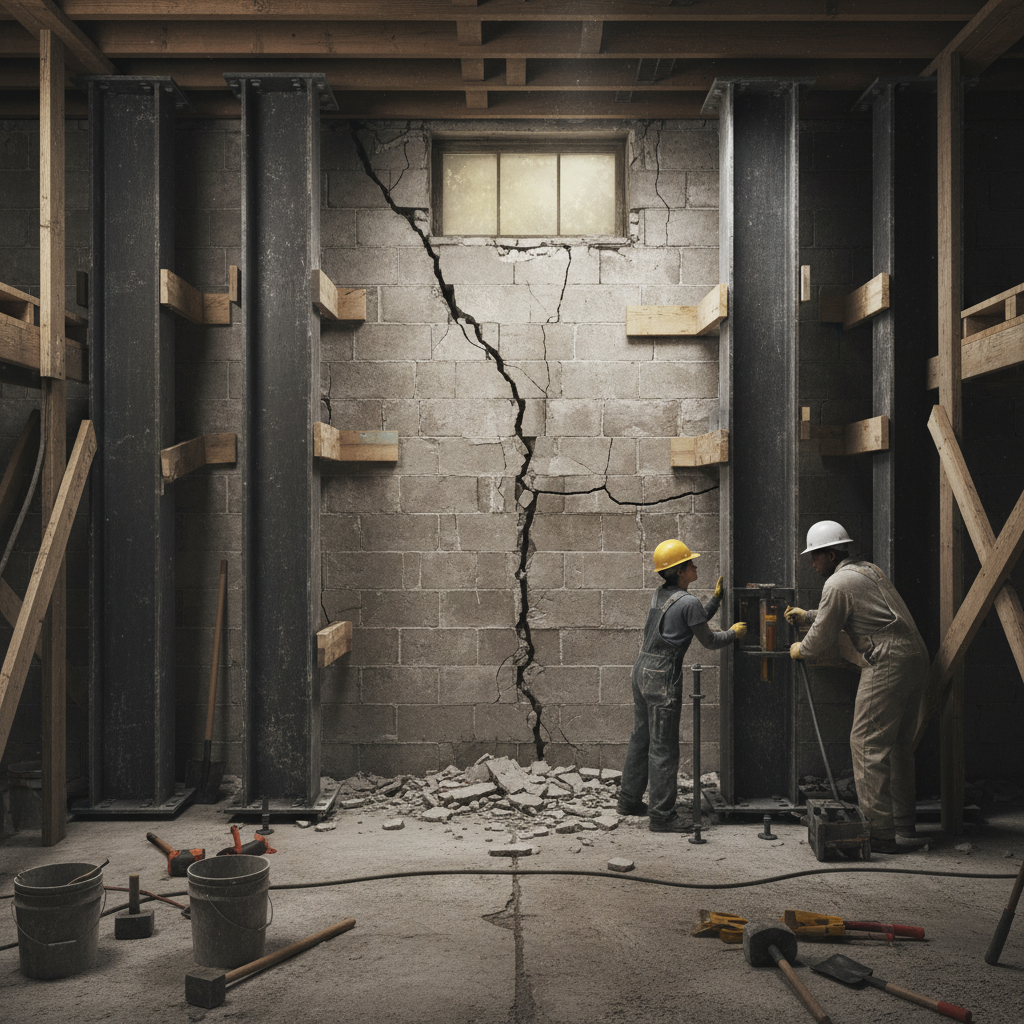
Step 6: Consider Exterior Waterproofing Solutions
If you’re still battling water issues, exterior waterproofing methods may be necessary. Though they might sound daunting, they can provide long-term relief.
– **Excavation**: This involves digging around the foundation to expose the walls. You’ll then apply a waterproof membrane on the outside. While this method can be labor-intensive (and might require heavy machinery), it can be worth it for chronic water problems.
– **Foundation Coating**: After excavation, applying a waterproofing coating to the surface can provide an added layer of defense. Think of it as giving your foundation a raincoat.
– **Install Weeping Tiles**: These are perforated pipes that help direct water away from your foundation. Once installed, they connect to a sump pump, ensuring that any pesky water finds its way out rather than into your basement.
Step 7: Regular Maintenance Checks
Congratulations! If you’ve followed these steps, you’re well on your way to a dry basement. But don’t hang up your rain boots just yet! Regular maintenance is crucial to keeping your basement waterproofed in the long run.
– **Regular Inspections**: Make it a habit to check your basement for new cracks, moisture, or any signs of water intrusion. Catching issues early can save you from future headaches and costly repairs.
– **Gutter Cleaning**: Don’t neglect your gutters! Clean them twice a year to ensure they’re functioning properly. Clogged gutters are a fast track to homeowner misery.
– **Sump Pump Testing**: Test your sump pump every few months to ensure it’s operational. Pour water into the pit until the float turns on. If it doesn’t respond, it’s time to investigate further.
Final Thoughts
Water damage is no laughing matter, but it doesn’t have to ruin your home or your day. By following these essential steps for effective basement waterproofing, you can protect your abode from water woes. Whether you’re sealing cracks, improving drainage, or installing a sump pump, each step brings you closer to a dry and comfortable living space.
Remember, when it comes to your home, prevention is far better than dealing with damage after the fact. So roll up those sleeves, put on your favorite tunes, and let’s keep the water where it belongs – outside of your home!