Let’s Start With That Slightly Crooked Chimney
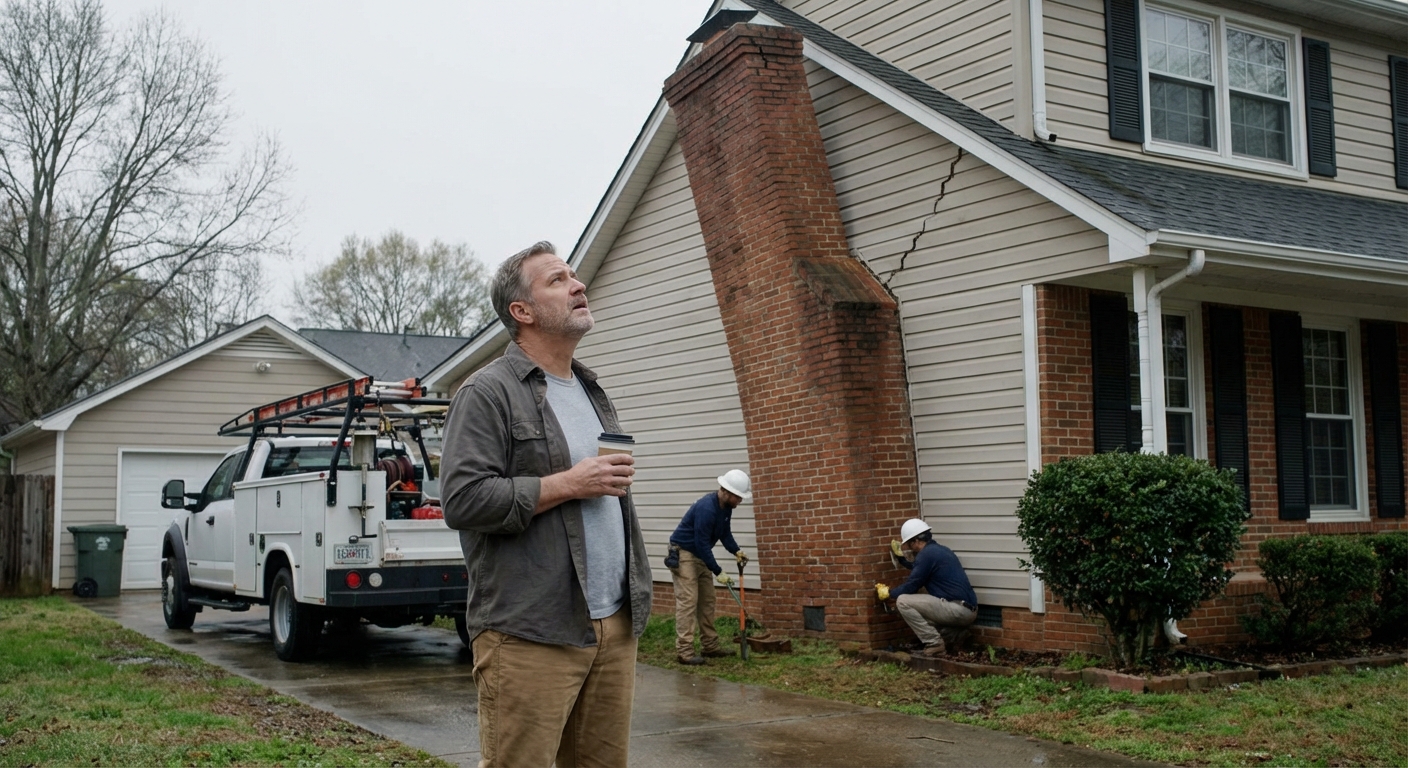
You know that moment when you’re backing out of the driveway in the morning, coffee on the roof of the car (again), and you glance up at your house in Charlotte… and something just looks off?
Then it hits you: the chimney looks like it’s leaning. Not cartoon-level crooked, but enough to make you wonder, “Has it always been like that?”
If that’s you, you’re not the only one. I’ve had this same conversation with homeowners in Charlotte, Concord, Gastonia, and even up in Greensboro. And the big question is always the same:
“Is this an emergency, or can I ignore it for a while?”
Let’s talk through real foundation repair options for a tilting chimney in Charlotte NC so you know what’s going on and what your next move should be.
Let’s Break This Down: Why Chimneys Start Tilting
A leaning chimney isn’t really a “chimney problem.” It’s almost always a foundation and soil problem.
Around Charlotte, we see a lot of:
- Clay-heavy soils that swell when wet and shrink when dry
- Poor drainage that dumps water right at the base of the house
- Shallow or undersized footings under older chimneys
Over time, that combo can cause:
- The chimney footing to sink faster than the rest of the house
- Cracks in the brick or mortar
- Gaps between the chimney and siding
- Water leaks where the roof meets the chimney
Why does this matter? Because a tilting chimney isn’t just ugly. It can:
- Let water into your walls and attic
- Create fire hazards if the flue is damaged or misaligned
- Become a safety risk if the tilt gets severe
- Scare away buyers when it’s time to sell
Here’s the Truth: How Bad Is “Bad”?
Before we jump into fixes, you need a quick reality check on how serious things might be.
Watch for these signs that your chimney needs attention sooner rather than later:
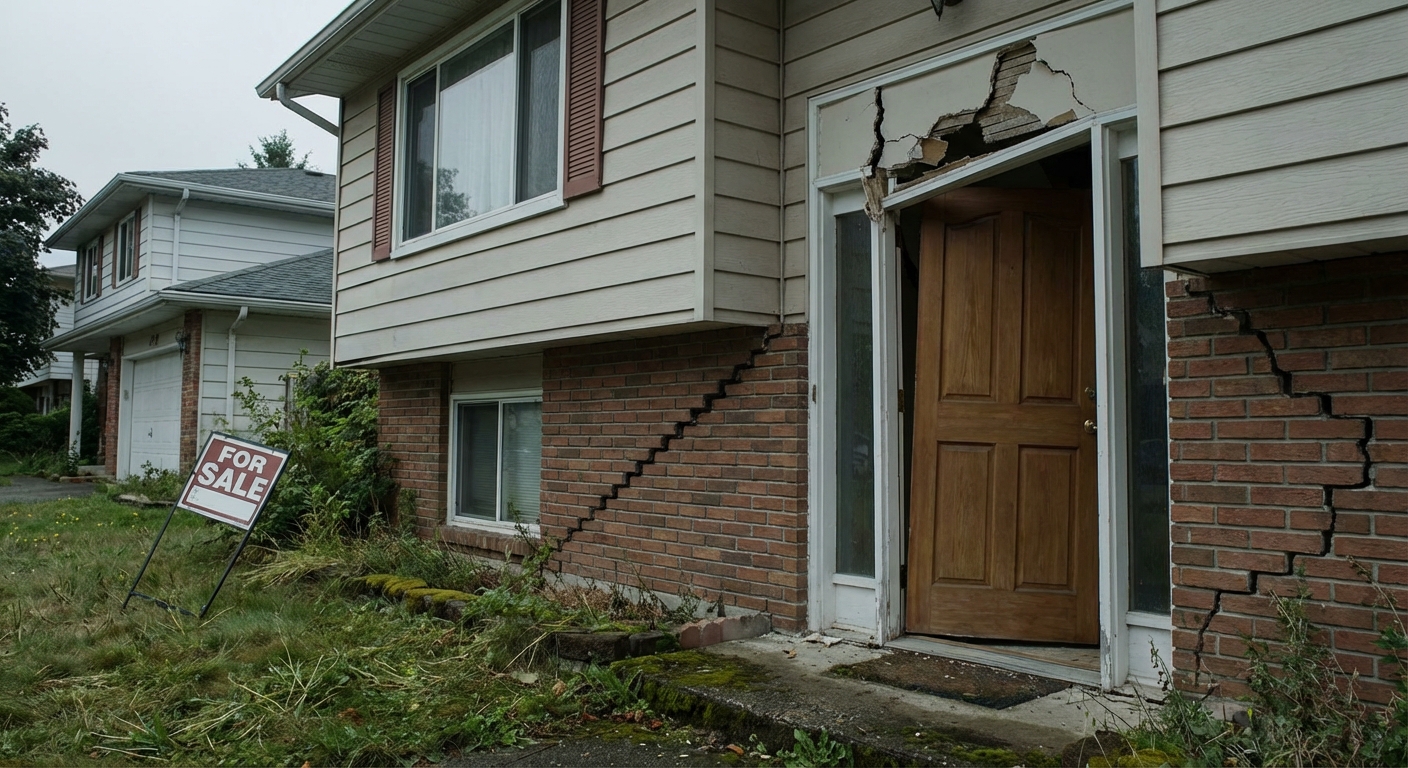
- Visible lean when you look from the street or backyard
- Cracks wider than a pencil in the chimney brick or mortar
- Gap between chimney and house you can fit a fingertip or more into
- Water stains on ceilings or walls near the fireplace
- Debris or cracked tiles in the firebox (sign of flue movement)
If you’re nodding yes to more than one of these, it’s time to stop just “keeping an eye on it.”
Let’s Make This Simple: Main Foundation Repair Options
When we talk about foundation repair options for a tilting chimney in Charlotte NC, we’re usually looking at a few main tools in the toolbox. Not every chimney needs all of these, but this is the menu.
1. Helical Piers: The “Lift and Support” Option
Helical piers are like giant metal screws that go down into stronger, more stable soil below your chimney’s footing.
Basic idea:
- Techs excavate around the chimney footing
- They drive helical piers down until they hit solid bearing soil
- Brackets connect the piers to the footing
- Hydraulic jacks gently lift and re-level the chimney (as much as safely possible)
When this makes sense:
- The chimney is clearly leaning
- The footing is sinking due to weak soil or erosion
- You want a long-term structural fix, not just cosmetic patching
Pros:
- Addresses the root cause: failing soil support
- Can lift the chimney and close gaps
- Engineered solution that can be documented for future buyers
Cons:
- More invasive than simple masonry repair
- Costs more than just filling cracks
2. Push Piers: The “Drive Down to Bedrock” Option
Push piers (also called resistance piers) are steel tubes driven straight down using the weight of the structure as resistance.
Very similar goal to helical piers: move the load from weak surface soils down to stable material deeper in the ground.
When this makes sense:
Heavier chimneys, or situations where the soil and structure line up better for push piers than helicals. An engineer or foundation specialist would determine which is better based on load and soil.
3. Foam or Grout Injection: The “Support and Stabilize” Option
Sometimes, the main issue is voids under the footing left by erosion or washout.
In those cases, a contractor may:
- Drill small holes under or near the footing
- Inject polyurethane foam or grout to fill empty spaces
- Support the footing from below and help prevent further sinking
Good for:
- Minor settlement
- Void filling after addressing drainage issues
- Situations where you don’t need a big lift, just support
4. Masonry Rebuild or Repointing: The “Brick and Mortar” Option
After the structural work, or for very mild issues, you may need a mason to:
- Rebuild the top part of the chimney
- Repoint mortar joints
- Replace damaged brick
- Repair or replace the chimney crown and cap
This doesn’t fix a sinking footing by itself, but it’s key for safety and appearance once the structure is stabilized.
5. Drainage Fixes: The Boring But Critical Part
Not exciting. But huge.
If water is washing out soil around your chimney footing, and you don’t fix it, any repair you do is fighting an uphill battle.
Typical drainage improvements:
- Extending downspouts 6–10 feet away from the house
- Regrading soil so it slopes away from the foundation
- Adding or adjusting a French drain system
- Making sure splash blocks and gutters are actually working
Sometimes this is Step 1. Sometimes it’s Step 3. But it’s almost always on the list.
A Quick Reality Check on Cost and Timing
I’m not going to pretend there’s a one-size-fits-all price. There isn’t. But to give you a ballpark feel:
- Minor masonry touch-ups only: lower end of the spectrum
- Helical or push piers under a chimney: usually several thousand dollars, depending on how many piers are needed and access
- Combined structural + masonry + drainage: more, but also a more complete fix
The wild part is, waiting can actually make things way more expensive. A small lean and a couple of piers is one thing. A chimney that’s pulling away, cracking the siding, and leaking into the living room is a whole different animal.
A Real-Life Moment from Right Here in the Carolinas
A while back, I was sitting at a little spot in South End Charlotte with a homeowner named Mark (not his real name, but close enough). He’d noticed his brick chimney leaning maybe an inch or two away from the house on the back side where he never really looked.
By the time he called for help:
- There was a visible gap between the chimney and siding
- Water was getting in and staining the ceiling near the fireplace
- The mortar joints on one side were cracked from top to bottom
The crew ended up installing helical piers under the chimney footing, gently lifting it, and closing most of the gap. After that, a mason rebuilt the top few feet of brick and patched the mortar. They also extended his downspouts and corrected a low spot in the yard behind the chimney.
Was it cheap? No. But compared to tearing down and rebuilding the entire chimney later, it was the better move. And his big relief was this: he could show photos, engineer notes, and repair documentation if he ever sold the house.
I don’t know everything, but I’ve seen enough tilting chimneys around Charlotte and down into Rock Hill and Fort Mill to know this: catching it early almost always wins.
The Part No One Talks About: Safety and the Fireplace Itself
Small tangent, but stay with me.
Everyone focuses on the brick outside. But a tipping chimney can also affect:
- The flue liner (cracked or offset liners can leak smoke or carbon monoxide)
- Draft (smoke not pulling up the chimney like it should)
- Clearances between hot surfaces and wood framing
So after foundation repairs, it’s smart to have a certified chimney sweep or inspector check the interior flue and firebox. Think of it as the “inside” part of the repair.
What You Can Do Next (Without Overthinking It)
If you’re standing in your yard in Charlotte or sipping sweet tea in Greenville staring at a maybe-leaning chimney, here’s a simple game plan.
- Step 1: Take pictures.
From the street, from the side, from the roofline if you can do it safely. Note any cracks or gaps. - Step 2: Check drainage.
Are gutters clean? Downspouts extended? Ground sloping toward the chimney? - Step 3: Look inside.
Any staining near the fireplace? Any debris or cracked tiles in the firebox? - Step 4: Get a foundation pro to look.
Ask specifically about structural support options (like piers or injection) under the chimney. - Step 5: Plan the full fix.
Structural support first, masonry repairs second, drainage improvements woven in.
If You Only Remember One Thing…
A tilting chimney is usually your house whispering, “Hey, something’s going on down here.” It’s not something to panic over, but it’s also not something to ignore for years and hope it straightens itself (it won’t).
The good news? Between helical or push piers, foam or grout injection, smart drainage fixes, and solid masonry work, there are proven foundation repair options for a tilting chimney in Charlotte NC that actually work and can be documented for peace of mind.
If this all feels like a lot, just start simple today: walk outside, take a few photos, and jot down what you’re seeing. That alone will make your next conversation with a pro way easier and a whole lot less stressful.