Essential Guide to Effective Basement Waterproofing Solutions for Your Home
If you’ve ever experienced that unwelcome squelch when stepping into your basement, or noticed an ominous water stain creeping up your walls, then congratulations! You’ve just joined the ranks of homeowners dealing with one of life’s most dampening dilemmas: basement waterproofing. Don’t despair just yet; we’ve got an essential guide packed with effective solutions to keep your basement dry and your worries at bay. Grab your rubber boots and let’s dive into the world of waterproofing!
### Understanding the Importance of Basement Waterproofing
Basements are like the basement dwellers of the home—they often get neglected until there’s a problem. However, keeping your basement dry is crucial for maintaining the integrity of your house and ensuring the health of your family. Water intrusion can lead to serious issues such as mold growth, deterioration of foundation materials, and even the dreaded musty smell that clings to everything worse than a five-day-old gym sock.
Not only does effective waterproofing enhance your home’s value, but it also provides peace of mind—something worth its weight in gold when you hear the pitter-patter of rain on your roof.
### Signs Your Basement Needs Waterproofing
Before we embark on our waterproofing journey, let’s pinpoint the symptoms that suggest your basement is in dire need of some TLC. Some tell-tale signs include:
– **Dampness or Wet Spots**: If you notice moisture settling in your corners, it’s time to pay attention. Those puddles are not just your imagination running wild.
– **Mold and Mildew Growth**: If you’re sharing your space with fungal friends, your basement is definitely doing something wrong. Mold thrives in damp environments, and trust us—you don’t want a fungal party down there.
– **Peeling Paint or Wallpaper**: When the walls start to look like a bad impressionist painting, it’s a sign that water is seeping through and wreaking havoc.
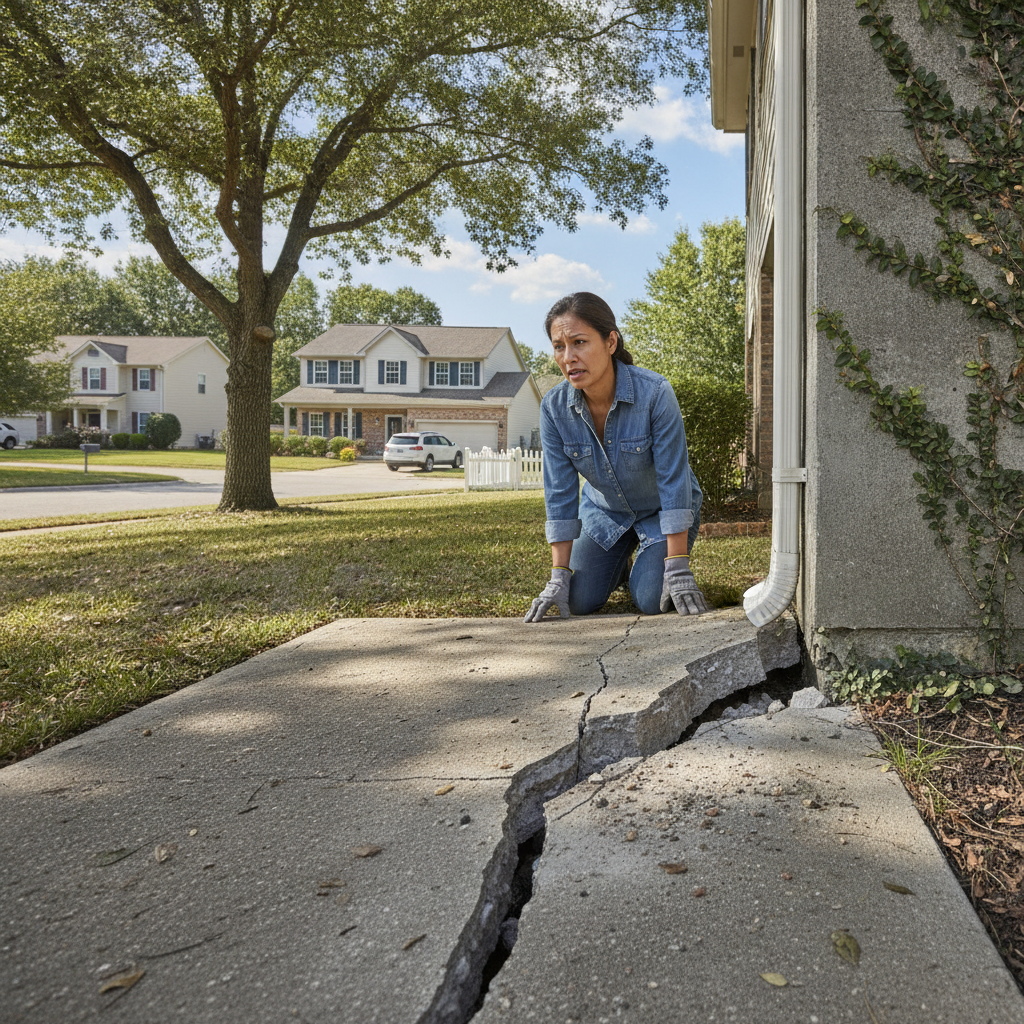
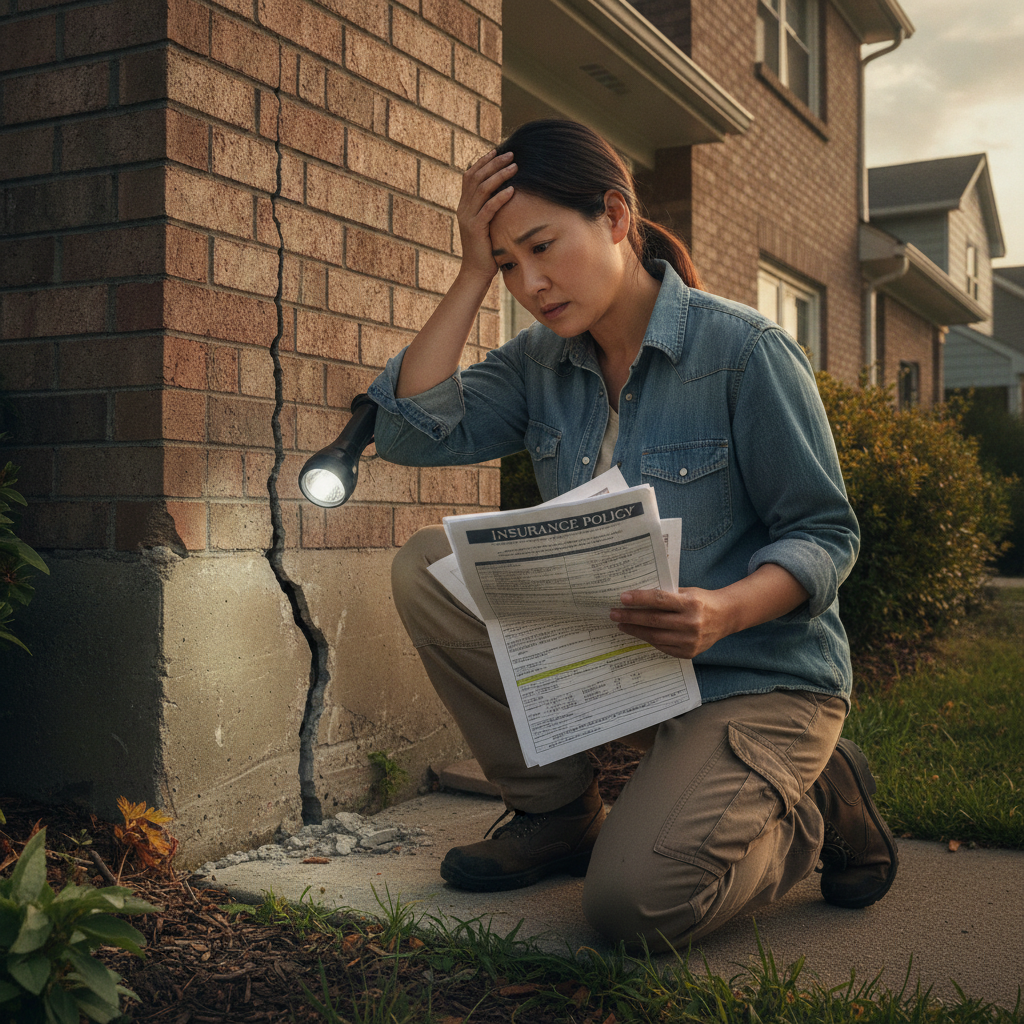
– **Cracks in the Walls**: Minor cracks might seem harmless, but they can be a gateway for water. If you can fit a pencil in there, it’s time for some repairs!
– **Pest Infestations**: Rodents and insects love damp spaces. If you’re finding more critters than normal, they might be moving in for a cocktail party.
### Preparing for Waterproofing: The Basics
Before you can get your basement into tip-top shape, you’ll need to prepare for the waterproofing process. Here are the essentials:
1. **Assessment**: Thoroughly inspect your basement. Identify any visible cracks, check for dampness, and see if drainage systems are functioning correctly.
2. **Clean Up**: Clear out any clutter from the basement. This will give you a clear workspace and make it easier to spot trouble areas—or that antique lamp you forgot you owned.
3. **Gather Supplies**: Depending on the solution you choose, you may need caulk, sealants, waterproof paint, drainage pipes, and even sump pumps. Make sure your toolbox is ready for action.
### Effective Waterproofing Solutions
Now that you’re prepped and ready, let’s explore several effective waterproofing methods to keep your basement high and dry.
#### 1. Interior Sealants
If your basement has minor moisture issues, using interior sealants can be an effective first step. These products work by filling in cracks and creating a moisture barrier on your walls and floors.
– **Products to Consider**: Look for polyurethane or epoxy-based sealants. They are durable and can withstand the rigors of a wet environment.
– **Application Tips**: Clean the area thoroughly before applying the sealant. Follow the manufacturer’s instructions regarding drying times and number of coats.
#### 2. Exterior Waterproofing
For more serious problems, exterior waterproofing is the way to go. This involves excavating around your home’s foundation and applying a waterproof membrane to prevent groundwater from seeping in.
– **Pros and Cons**: While this method can be more expensive and labor-intensive, it’s often more effective in the long run compared to interior solutions.
– **Hire Professionals**: This isn’t the kind of DIY project that you want to half-heartedly attempt. Consulting with professionals ensures proper installation and gives you the best chance of success.
#### 3. French Drains
If water pooling is a frequent visitor in your basement, a French drain could be your new best friend. A French drain is a trench filled with gravel or rock that redirects water away from your foundation.
– **Installation**: Digging a trench around your home, laying down perforated drainage pipe, and covering it with gravel requires some elbow grease (and maybe a few blisters), but it’s well worth it to keep your basement dry.
– **Maintenance**: Regularly check to ensure that your French drain remains clear of debris to maintain its effectiveness.
#### 4. Sump Pumps
A sump pump is like a superhero for your basement. It actively pumps out water that accumulates in a sump basin, preventing flooding and water damage.
– **Choosing the Right Pump**: Look for a sump pump with a good reputation and a battery backup system to ensure it continues operating during power outages.
– **Location Matters**: Install your sump pump in the lowest part of your basement to effectively catch any incoming water.
#### 5. Gutters and Downspouts
Sometimes the simplest solutions can make the biggest difference. Ensuring your gutters and downspouts are clean and directing water away from your foundation can significantly impact moisture levels in your basement.
– **Regular Maintenance**: Check and clean your gutters regularly, especially after heavy storms or falling leaves season. Clogged gutters are just asking for trouble!
– **Extend Downspouts**: Ensure that your downspouts extend at least three to four feet away from your foundation. This helps direct water further away from your house.
### DIY vs. Professional Help: What to Consider
While many homeowners are adept at DIY projects, waterproofing can sometimes fall outside the realm of simple repairs. Here are some considerations to help you decide whether to tackle it yourself or call in the cavalry:
– **Complexity**: If your basement has serious water intrusion problems or you find extensive cracking or mold, it’s best to consult a professional who can provide expert advice and solutions.
– **Time Investment**: Consider how much time you can realistically devote to a DIY project. Some waterproofing solutions take a while to implement properly.
– **Skill Level**: If your skillset includes fixing leaky faucets but not tackling large scale excavation, hiring professionals becomes a wise choice.
### Maintaining Your Waterproofed Basement
Once you’ve effectively waterproofed your basement, the work isn’t quite done. Regular maintenance is key to preventing future issues:
1. **Routine Inspections**: Check for cracks, damp patches, or signs of mold every six months. Early detection saves time, money, and a lot of stress.
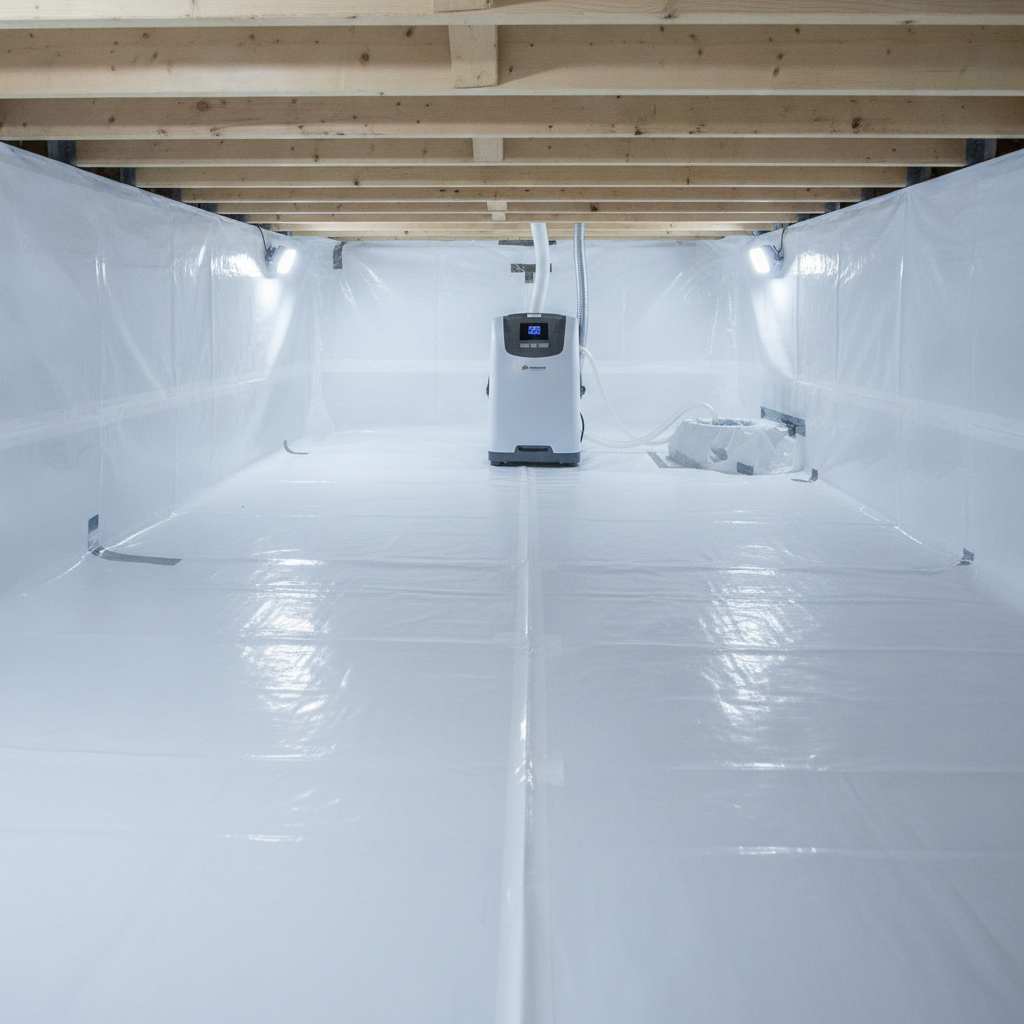
2. **Monitor Humidity Levels**: Keep an eye on humidity levels in your basement. A dehumidifier can help maintain a comfortable environment.
3. **Maintain Drains and Pumps**: Regularly test and clean your sump pump and drains to ensure they’re in working order.
### Conclusion
Waterproofing your basement isn’t just about keeping things dry—it’s about preserving your home’s value, enhancing your quality of living, and potentially saving you thousands of dollars in future repairs. With the right approach and a mix of do-it-yourself determination and professional expertise, you can transform your basement from a damp dungeon into a safe, dry sanctuary.
So roll up those sleeves, gather your supplies, and let’s keep the floodgates closed! Your basement will thank you, and so will your future self when you’re not knee-deep in water during the next torrential downpour. Happy waterproofing!